To get an Indian IP address, you probably tried using a VPN. But did you know that most Indian websites will block you when they find out?
This is because most Indian organizations are subscribed to IP Reputation Databases that have lists of the most common VPN IPs out there, and the moment they sense you’re connecting using one of these IPs, you’re blocked.
The logical solution to this problem is to look for IPs that don’t belong in those “blacklists”. I call these “clean IP addresses”, and in this guide, I’ll teach what they are, where to find them, and how to use them.
Let’s get into it.
What are “clean” IPs?
In reality, it’s not just the VPN that’s blocked; it’s the whole Data Center containing its servers that’s blocked.
So, to get past the blockage, you need an Indian IP address that:
- Looks like a private house (called a residential IP): this is an IP that belongs to a real household. When connecting using this IP, you’re actually using the IP of a regular family in Mumbai or Delhi.
- Or, an IP that looks like a cell phone (called a Mobile IP): These IPs route your traffic through a real Indian SIM card. Mobile networks use a technology called CGNAT, where thousands of people share a single IP address. If a bank blocks a mobile IP, it might accidentally block 5000 legitimate customers at once. So, these IPs have the highest “Trust Score” possible.
- And preferably, an IP that stays stable for a long time (called a Static IP): if you’re using an IP address to access your bank account, for example, the IP address needs to stay the same every time you log into that account, or else it gets suspicious. So, a rotating proxy is too risky; that’s why a Static Residential Proxy is way safer.
So simply put, clean IPs are those whose origins are real home Wi-Fi or Mobile 4G/5G.
And for more “cleanliness,” a static residential IP will make you look like a loyal local customer returning to the site every day.
Where can you find a “clean” Indian IP address?
I found the clean Indian IP addresses I use on Floppydata.
It’s a proxy provider that offers a pool of over 65 million IPs across 195+ countries, including India and 95+ of its cities for city-level targeting.
The proxies Floppydata provides enter in the “clean IPs” category we talked about earlier: Residential and Mobile proxies with rotation times that can be very long. The proof is that they have a 95% clean rate and are verified to have low Fraud Scores in many sources.
Since I started using Floppydata’s Indian IPs, I’ve rarely gone through verification captchas or “access denied” screens. And if you want me to teach you how to get them, follow along with this guide.
How to get Indian IP addresses using Floppydata
The steps are simple:
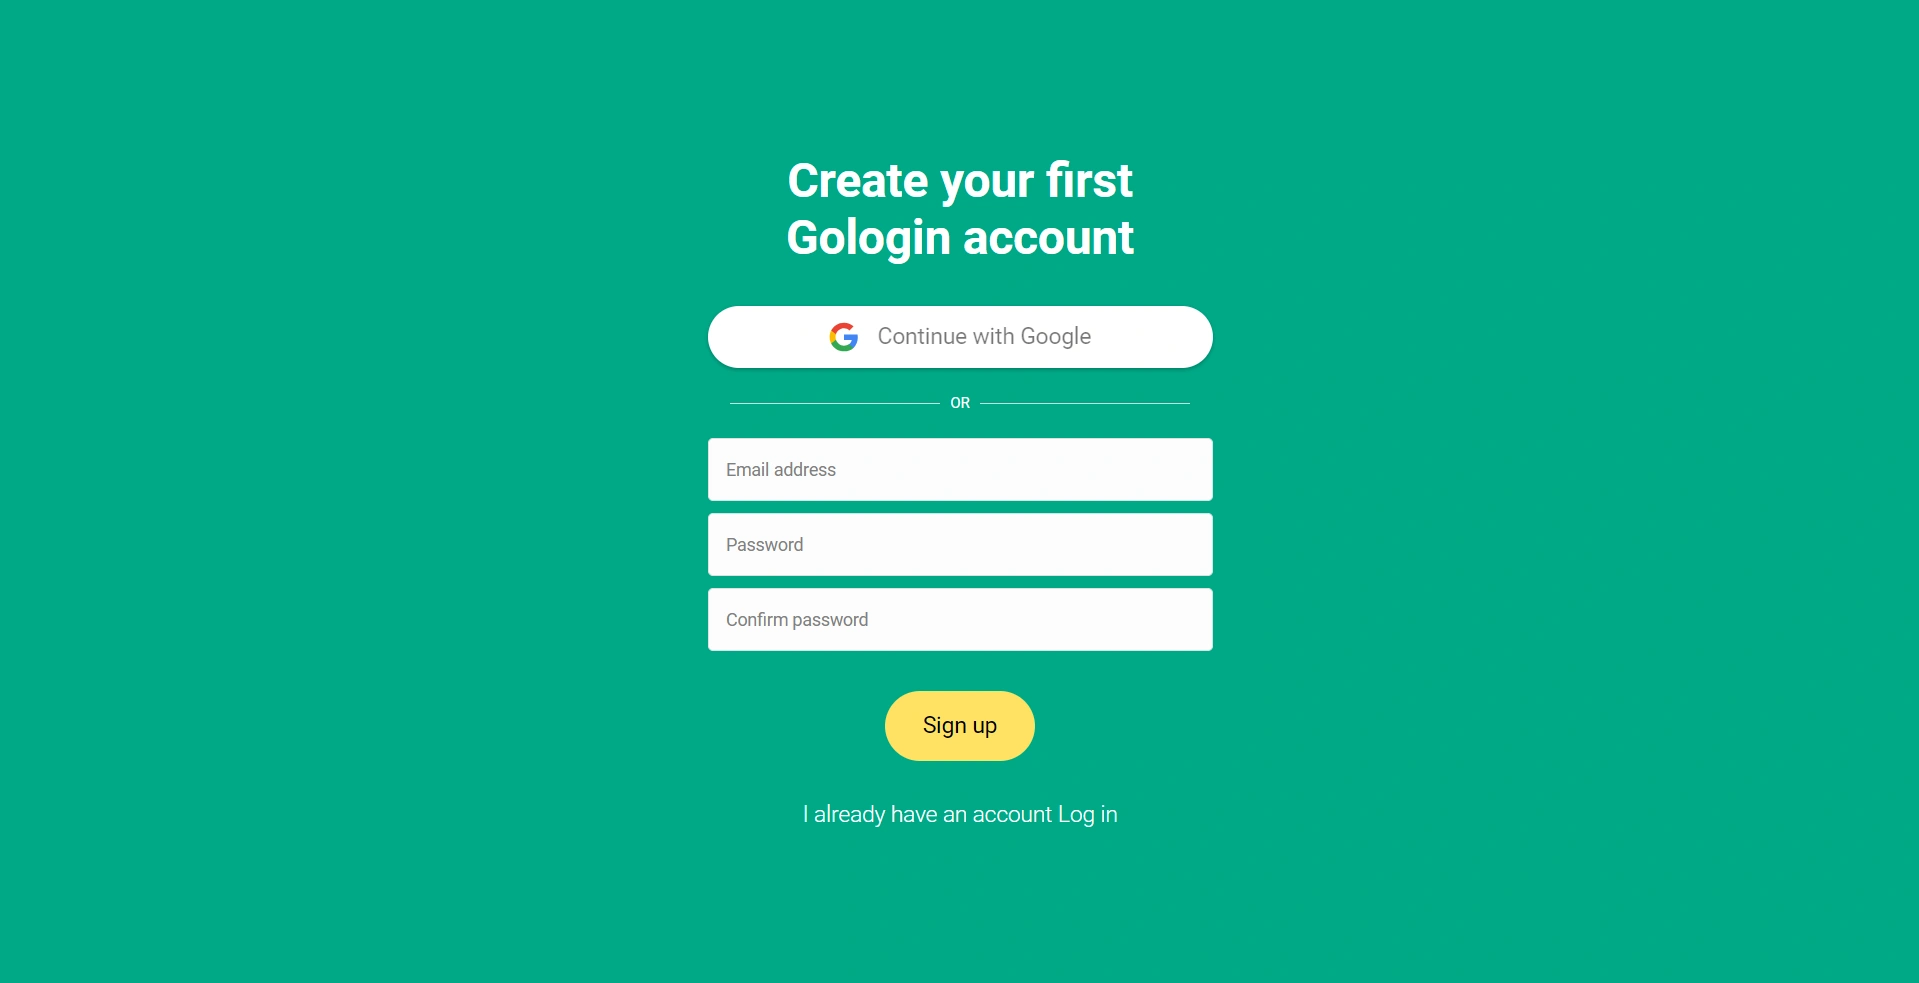
- Go to Floppydata and create your account or log in if you already have one
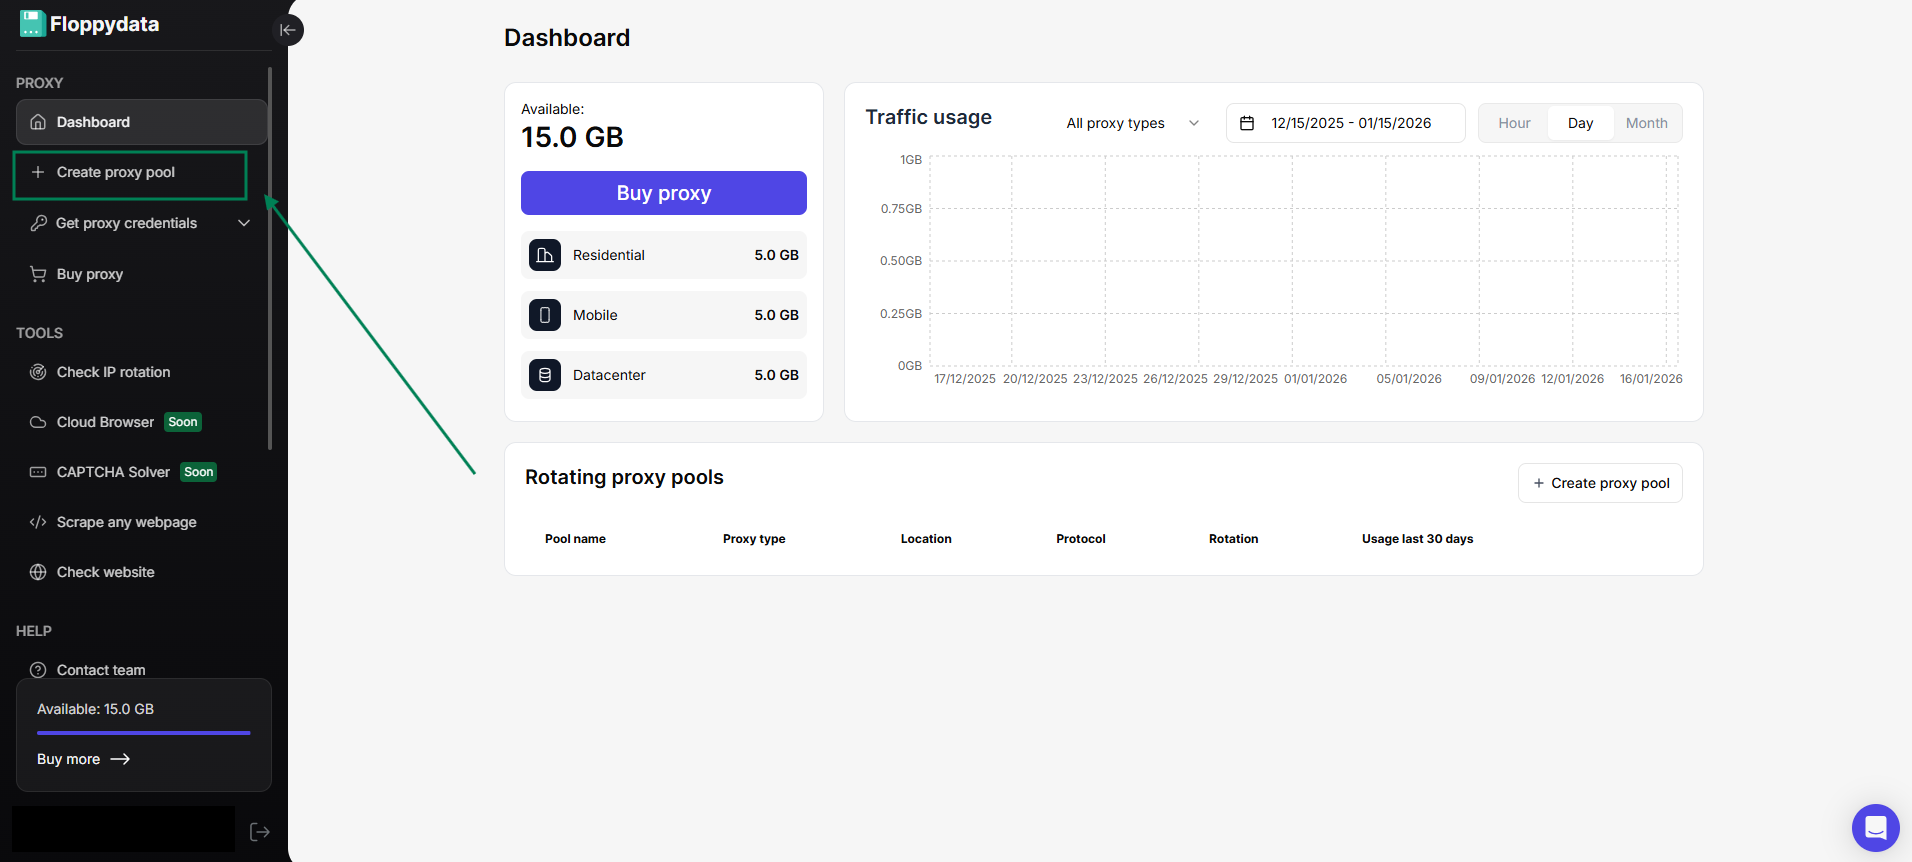
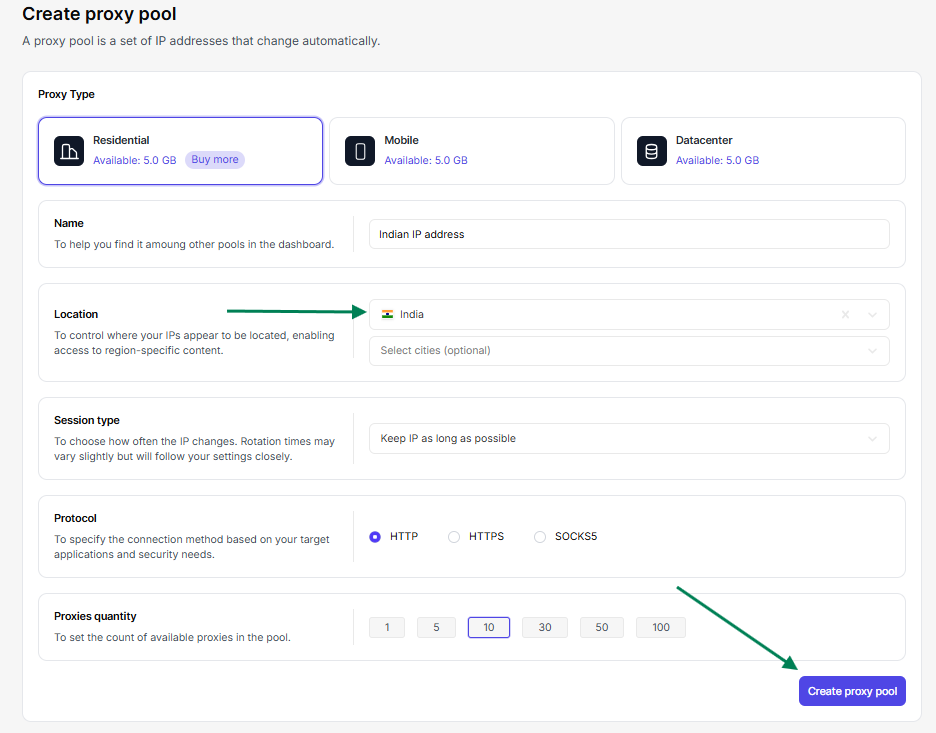
- Once inside the platform, from the left sidebar, click “Create proxy pool”

- Choose your proxy type, fill the required fields, make sure you set the location to India, and if you want your session to stick for as long as possible, make sure you select that too, then click the “Create proxy pool” button when you’re done.

Congrats! You now have clean Indian IP addresses that you can use without any risk.
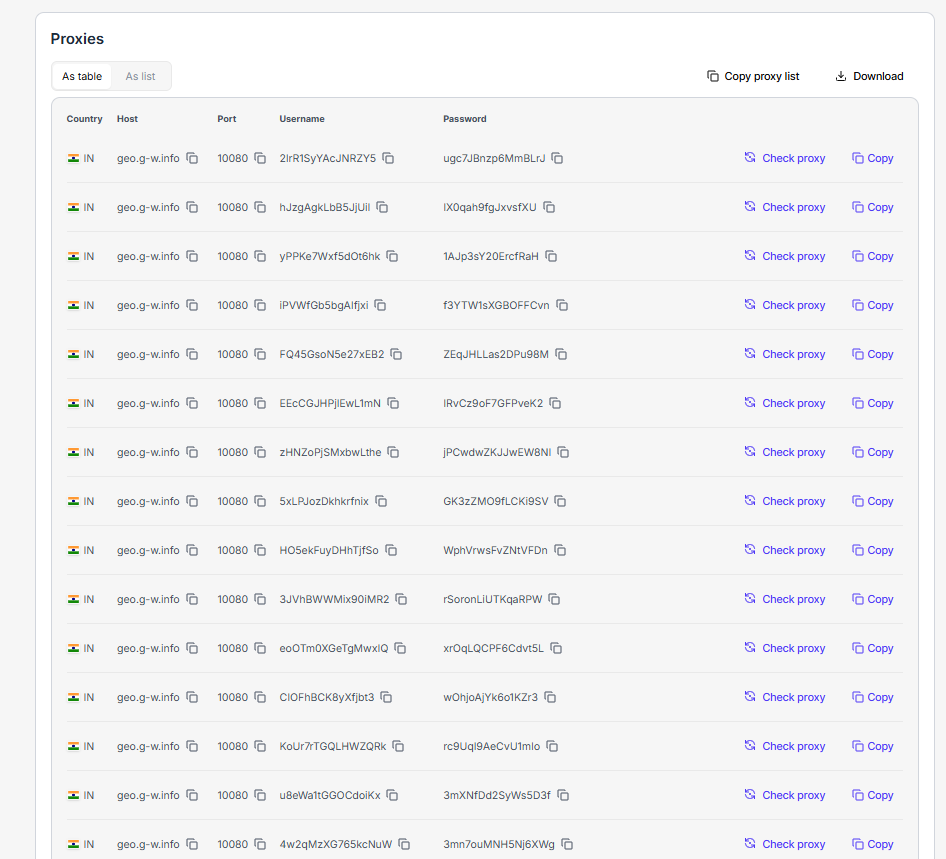
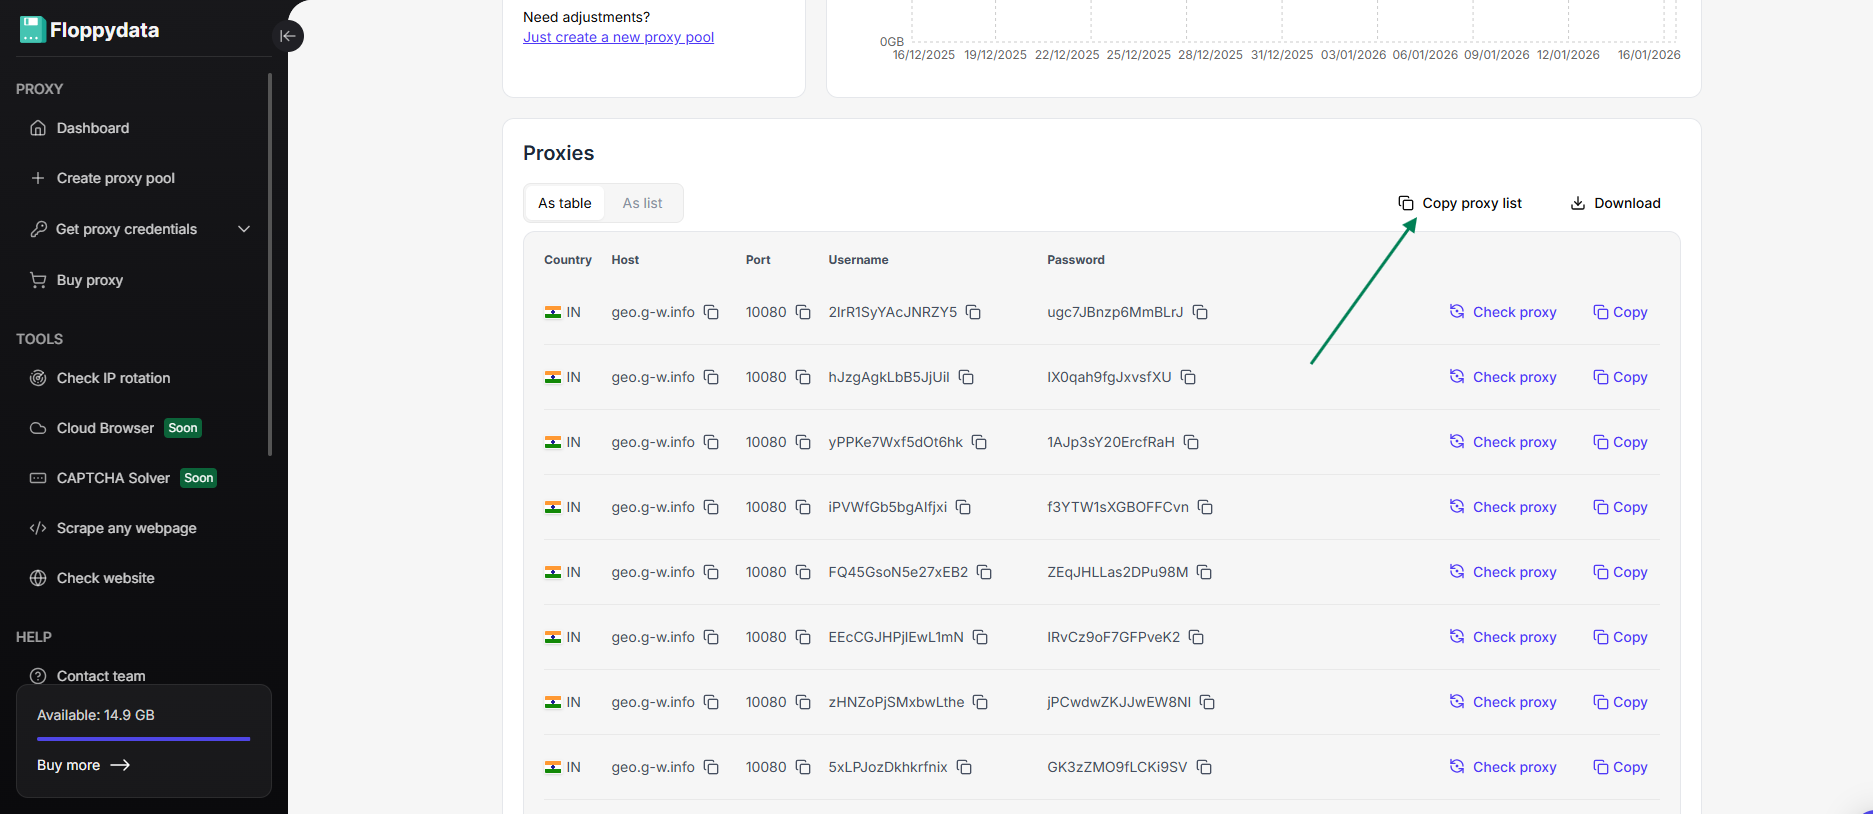
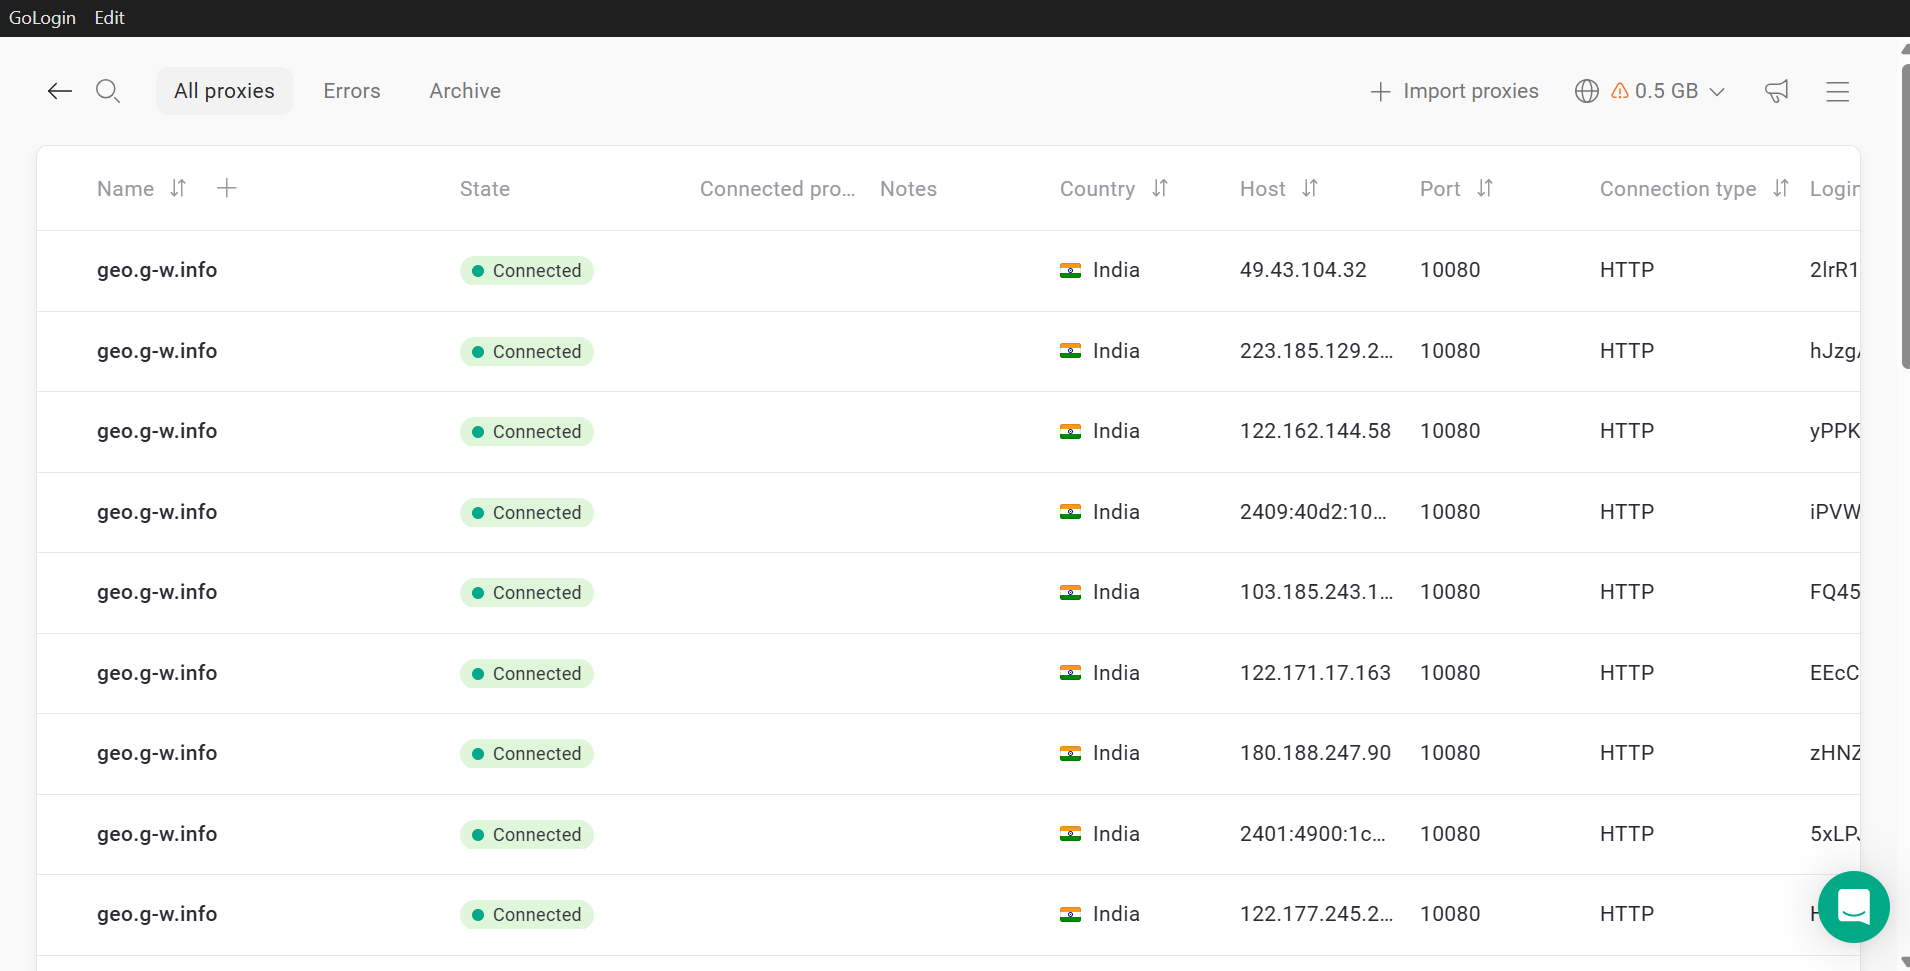
If you’ve chosen to get more than one proxy in your pool, then your list should look something like this:
Now, to get access to Indian content, you’ll need to link your Indian IP to a browser.
Let’s find out how.
How to use Floppydata’s Indian IPs?
Once you have bought your IPs from Floppydata, there are two ways you can use them, depending on how much anonymity you need:
Option 1: For no extra anonymity, use your Indian IP on your browser
Most browsers we use on a daily basis support the use of proxies. In this section, I will teach you how to use the proxies you got from Floppydata on both Chrome and Firefox, as they are the most popular browsers nowadays.
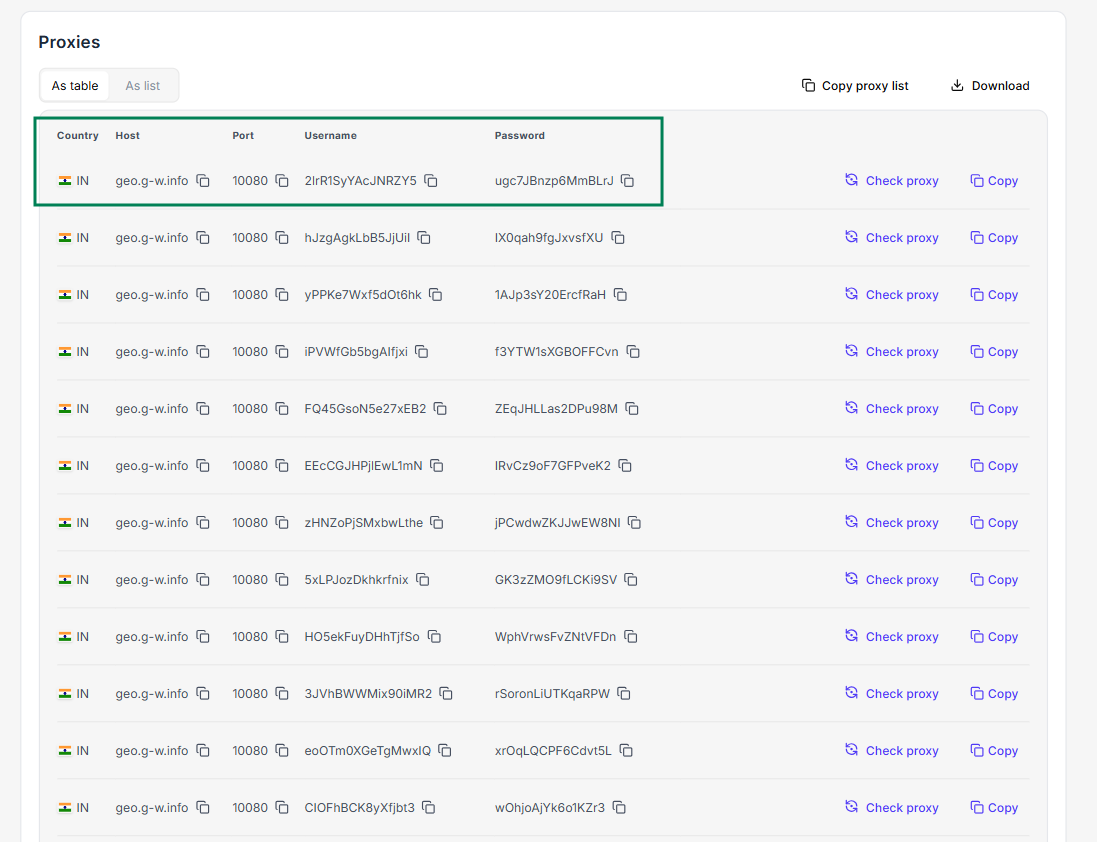
Before getting into the steps, I need you to go to your list of proxies on Floppydata, choose a proxy from that list, and copy this information:
- The proxy’s Host
- Port
- Username
- and Password
They are all organized in the list, so copying them is an easy task; just click on the copy symbol in front of each one.
Now that you have this information ready to copy, let’s start with Chrome:
Use your Indian IP address on Chrome
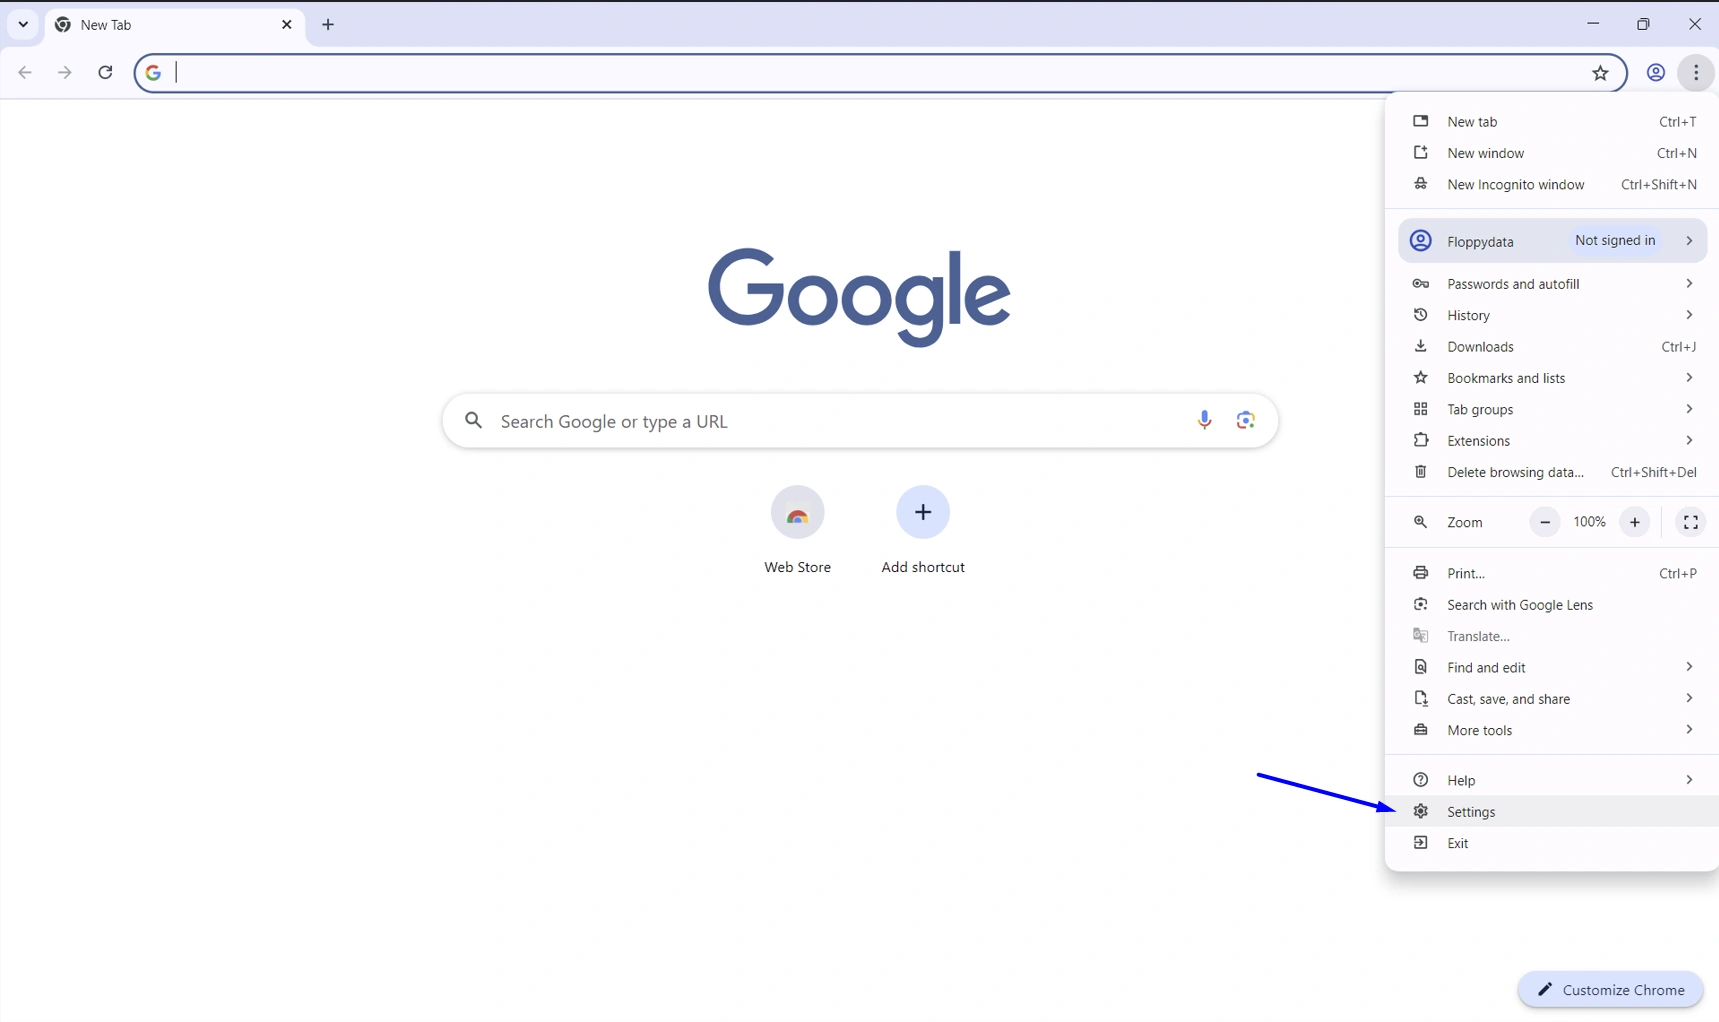
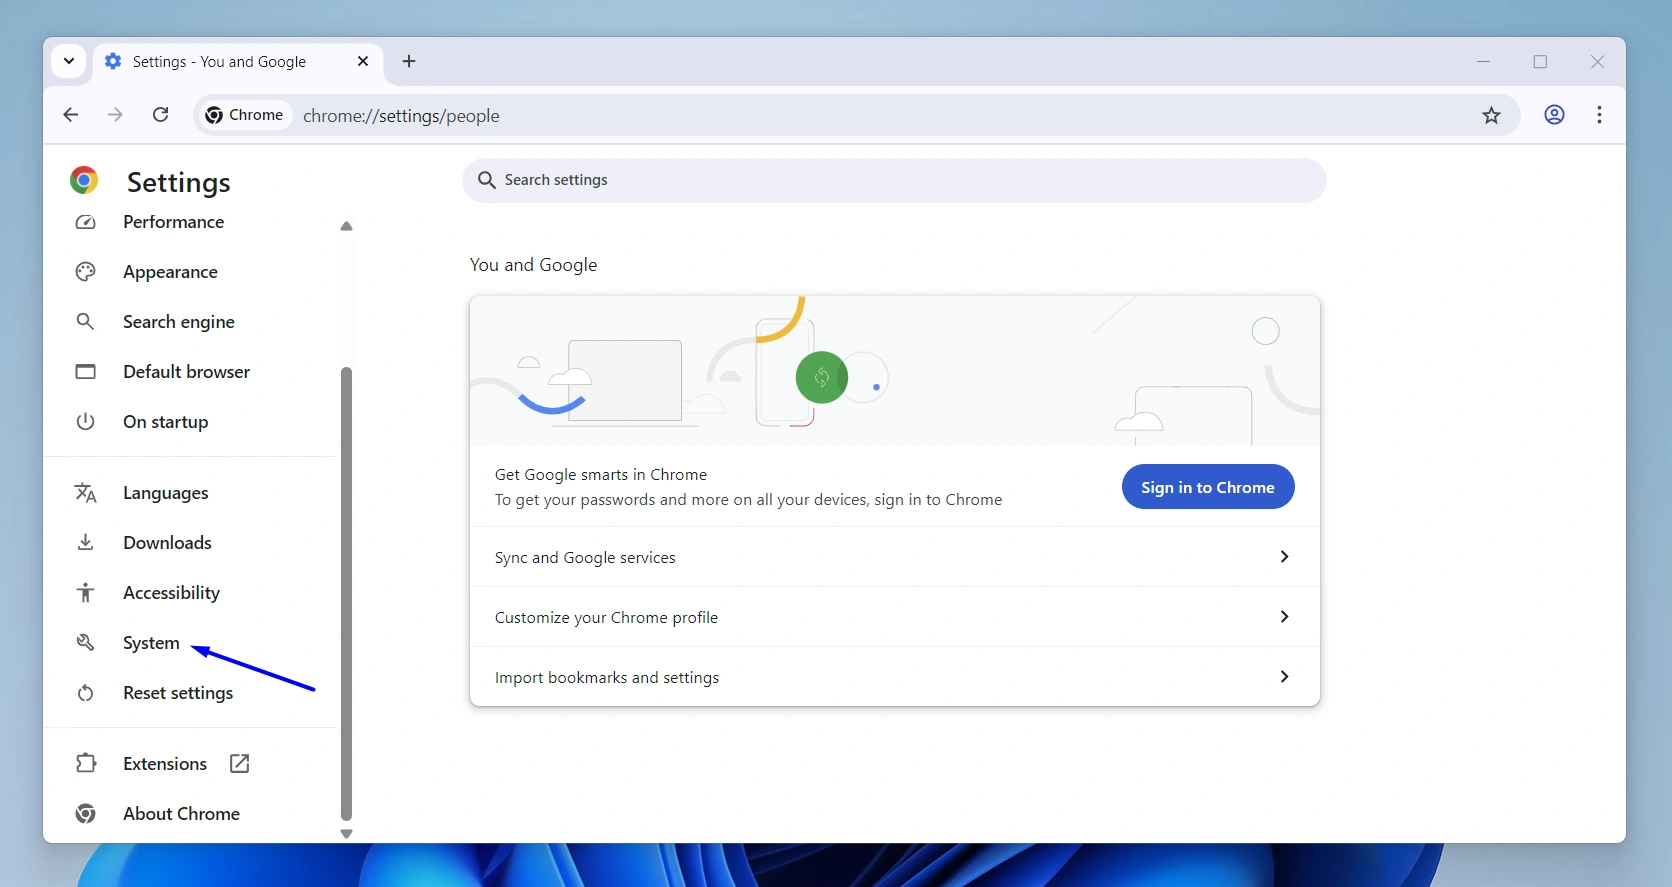
After buying your Indian IPs from Floppydata following the instructions above, open your Chrome browser and click on the three dots at the top right corner and select Settings.
On the left menu, scroll a bit until you find System, and click on it.
Select the “Open your computer’s proxy settings” option.
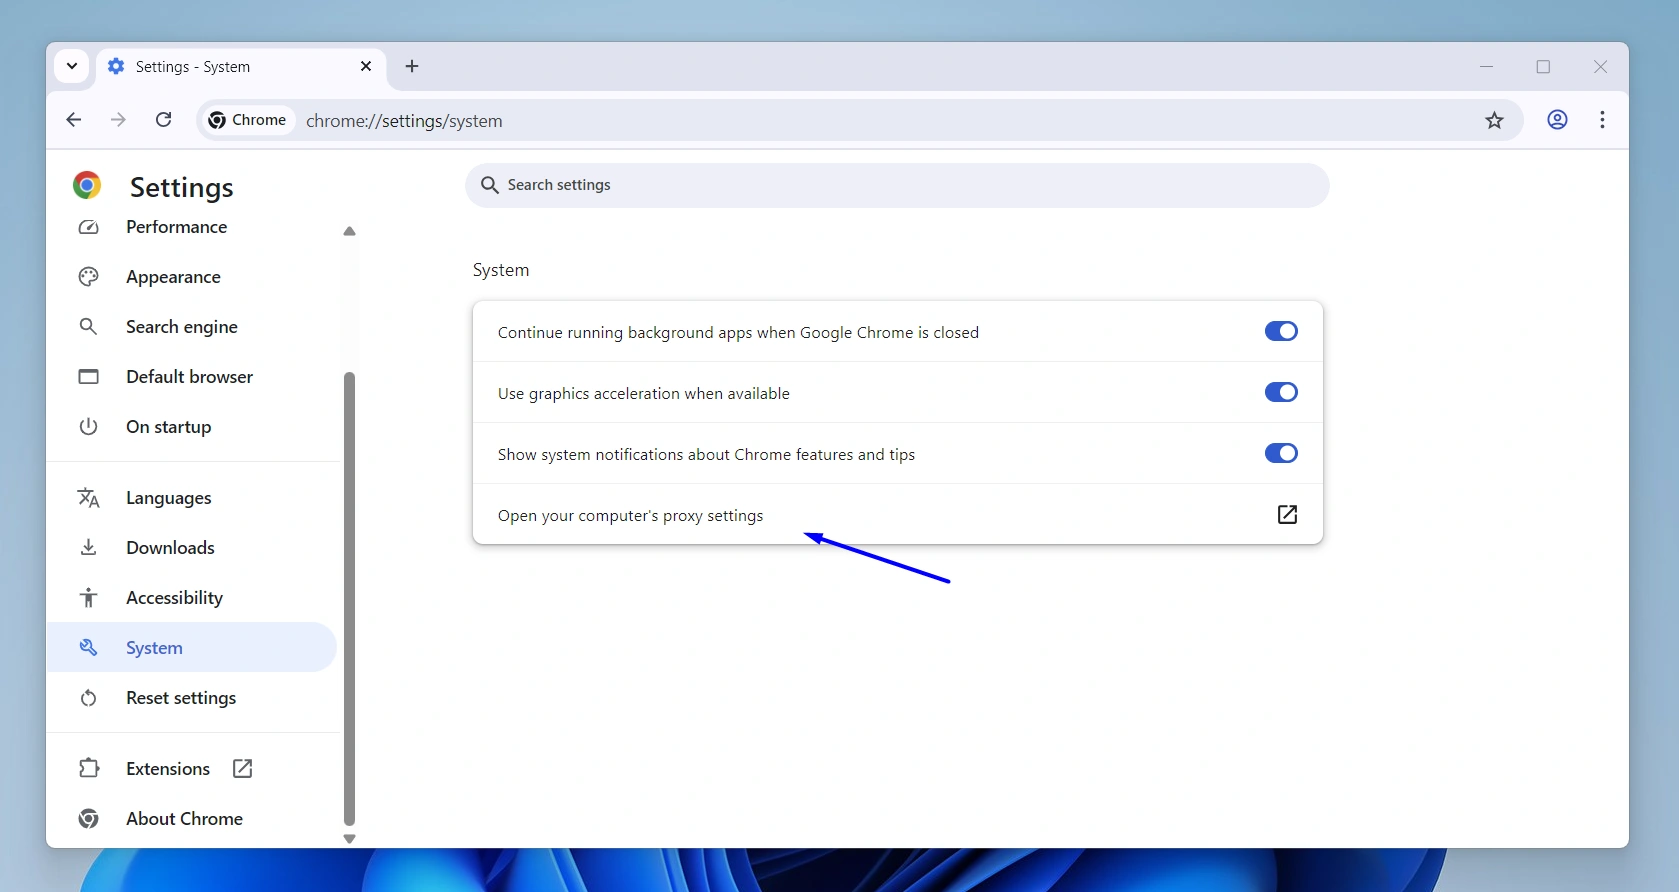
This will indeed open your computer’s proxy settings. Go to the “Manual proxy setup” section and click Set up.
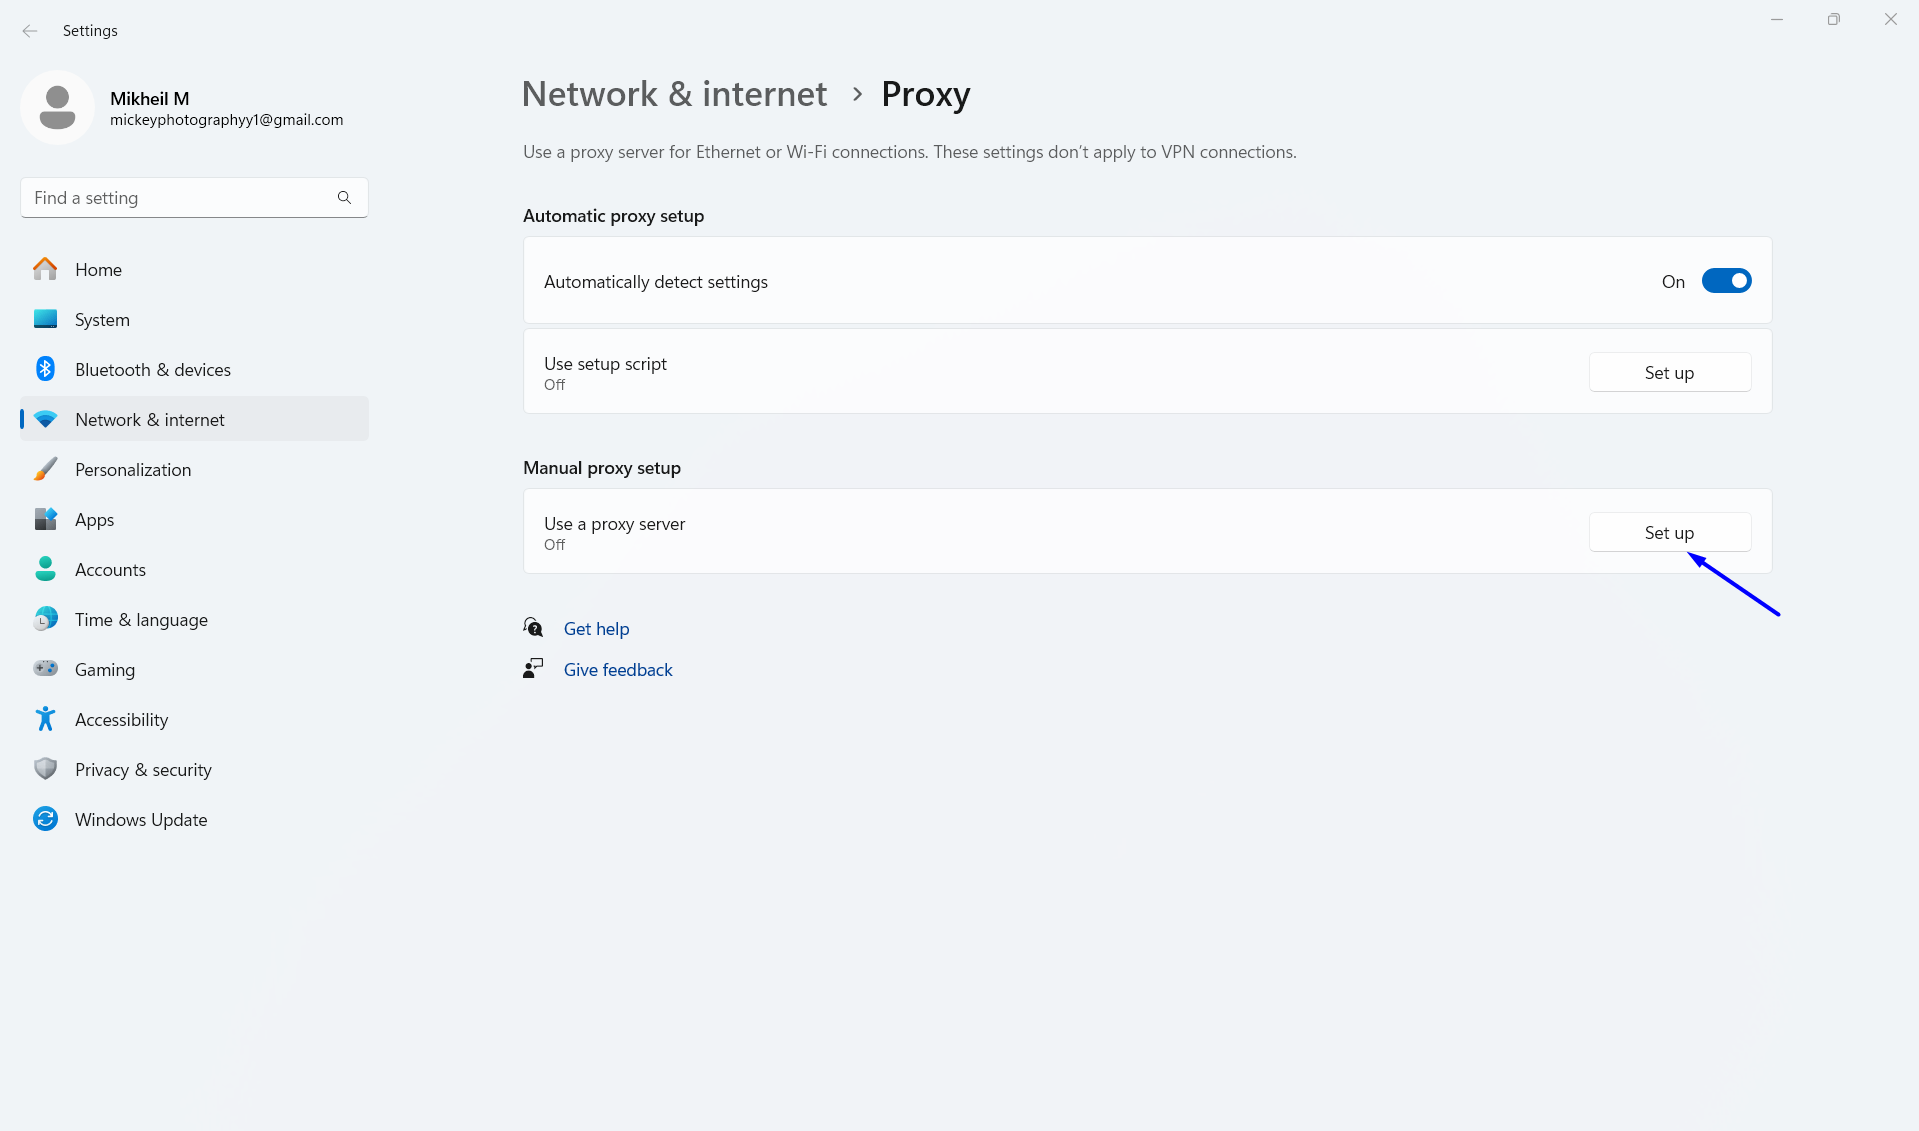
This will open a new window where you can configure your proxy settings.
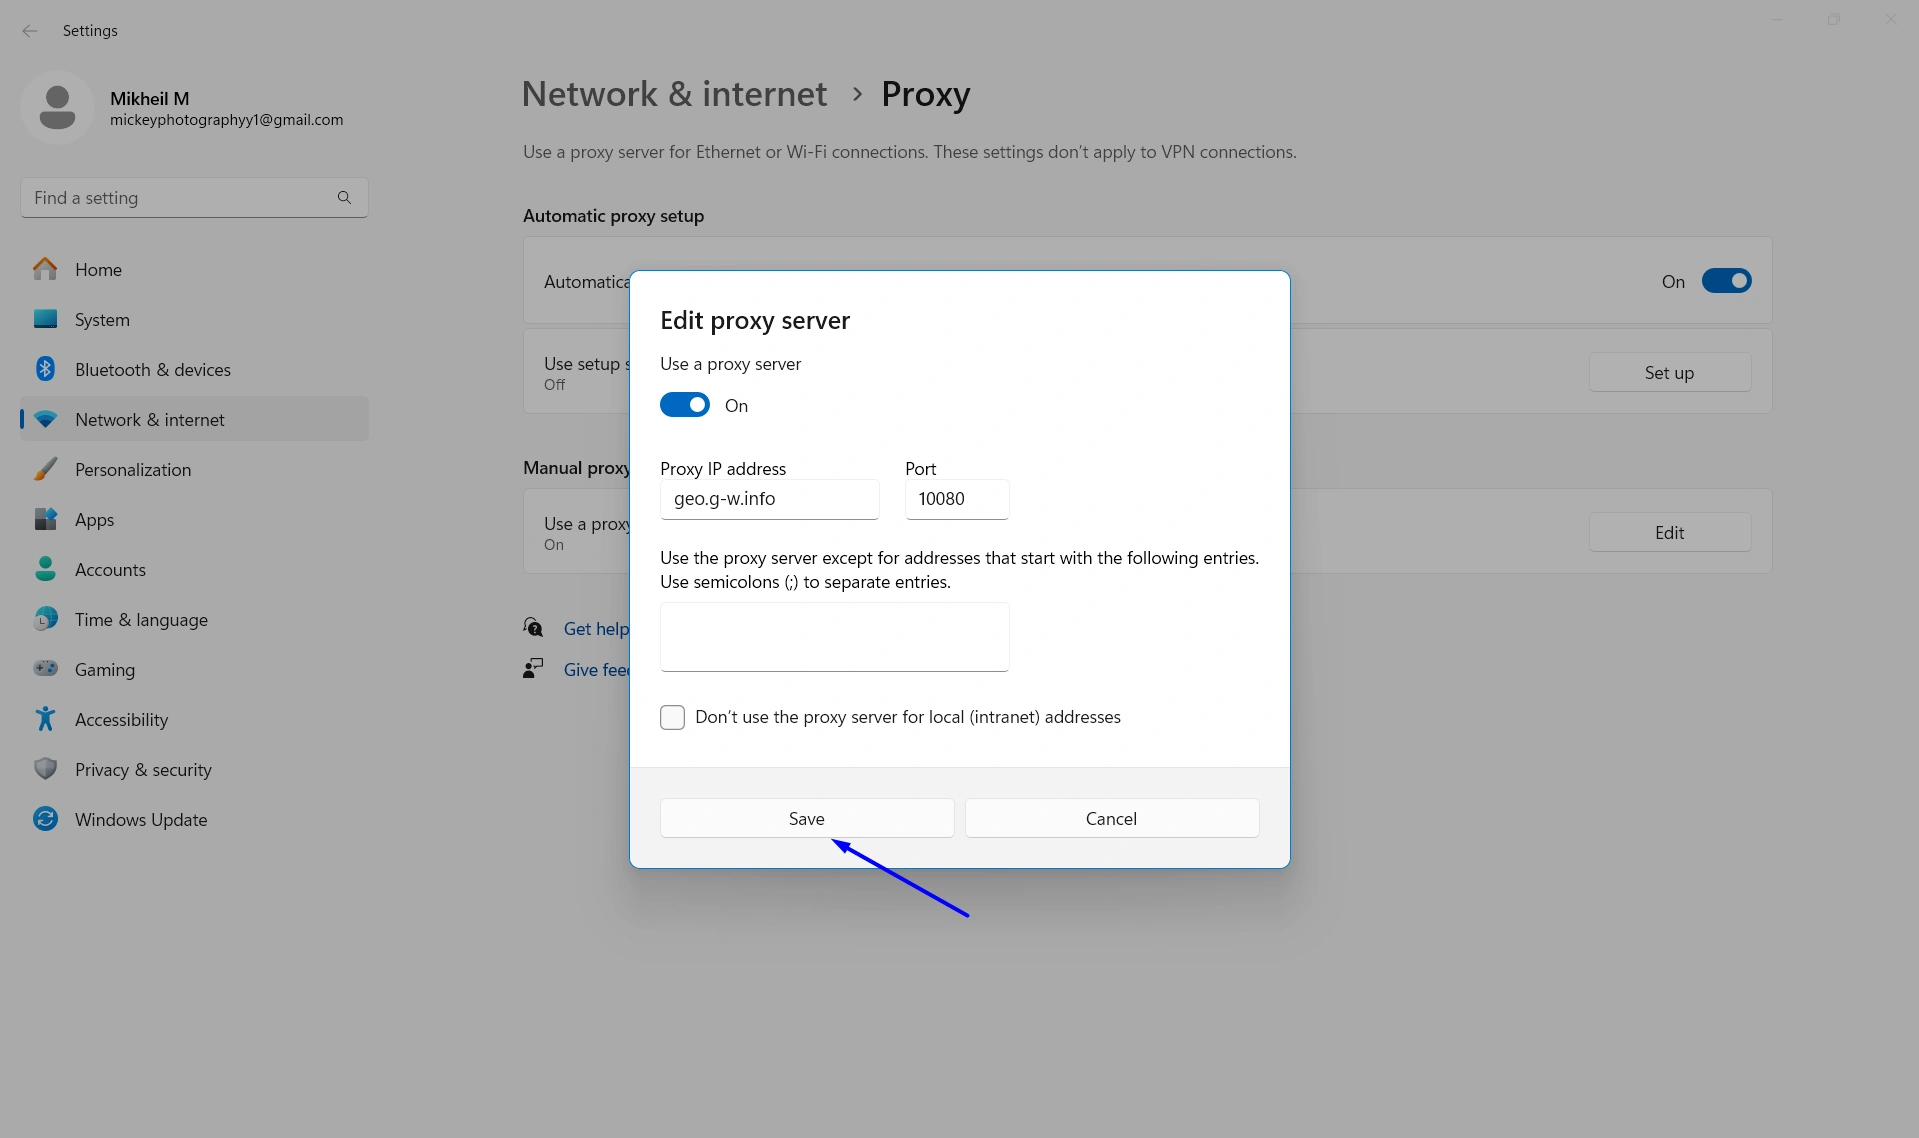
First, turn the “Use a proxy server” toggle on.
Then, paste the proxy host you’ve copied before under “Proxy IP address” and paste the port under “Port”.
Click Save when you’re done.
Now, restart your Chrome browser, and when you open it, you’ll be asked to enter a username and password. Those also are on the proxy pool list, just copy and paste them.

Once you click Sign in, your Chrome browser will start working with your Indian IP successfully!
If you’re a Firefox user instead, follow these steps:
Use your Indian IP address on Firefox
Keep your IP’s host, port, username, and password accessible because you’ll need them here too.
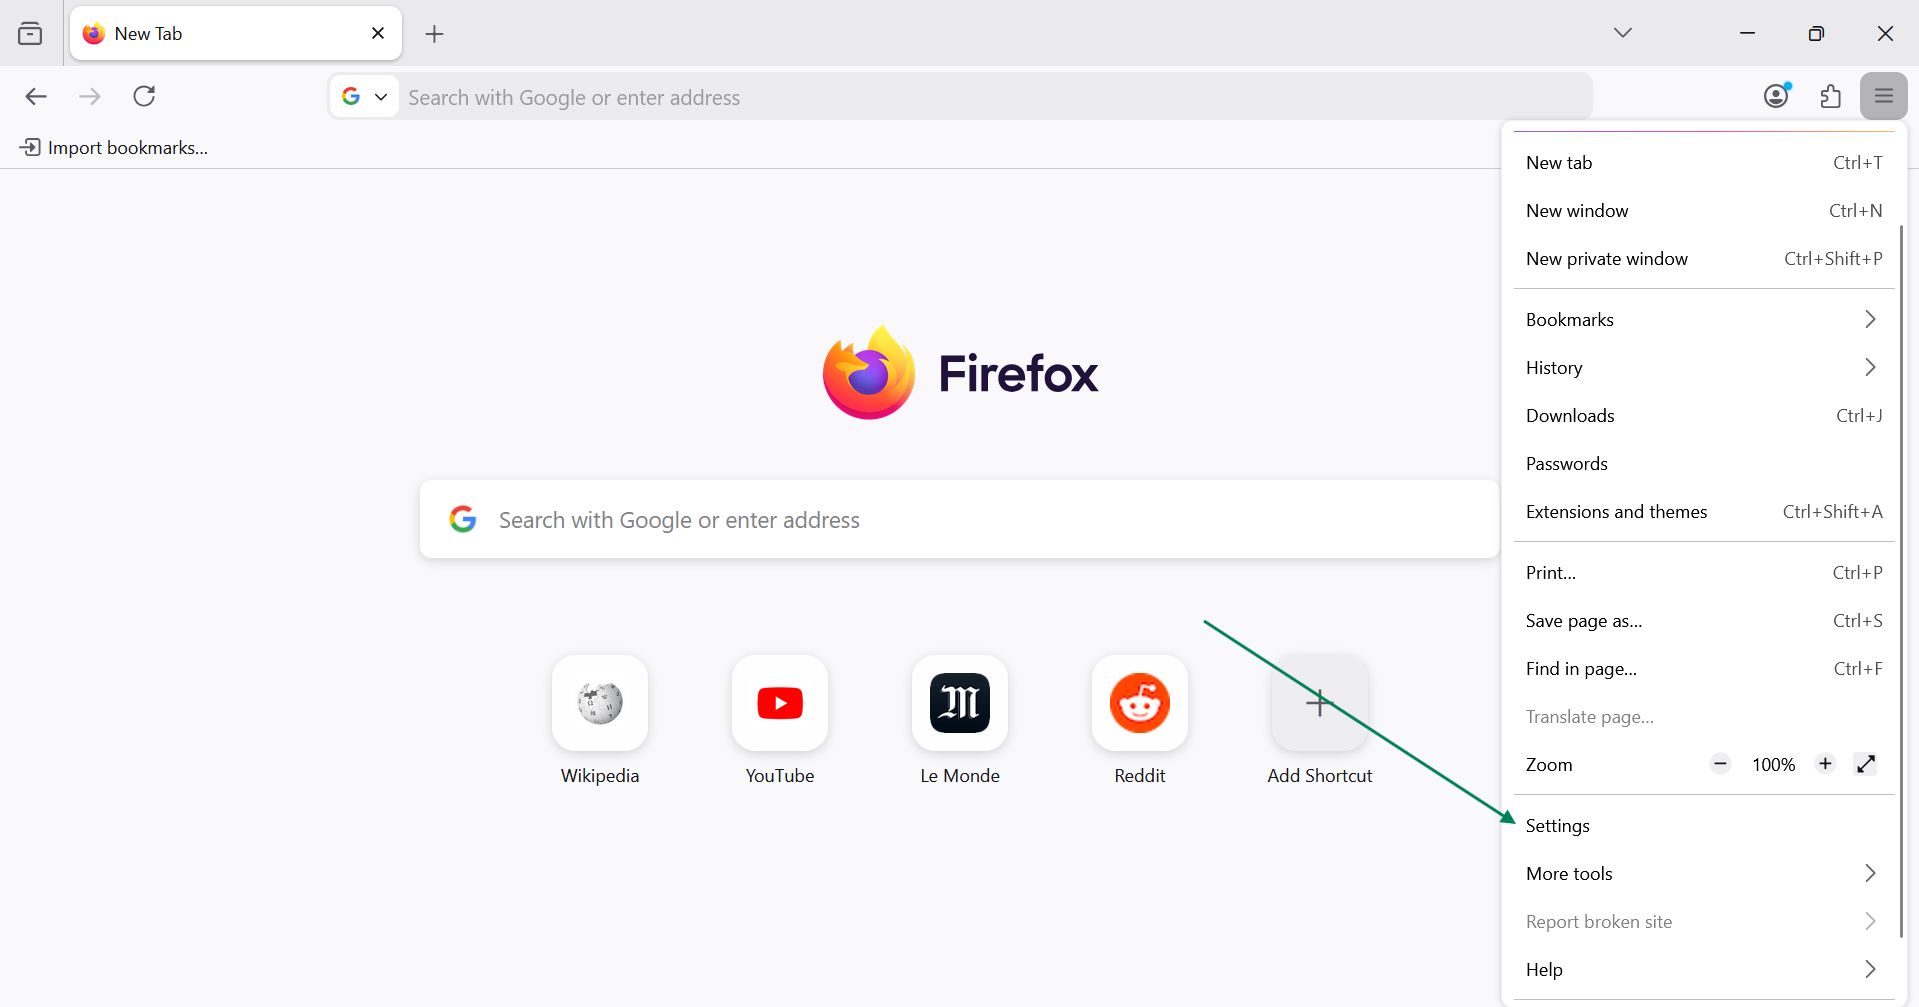
Open your Firefox browser, click the hamburger menu (☰) on the top right corner, and select Settings.
Stay on the General tab, scroll down until you find the Network Settings section. Click on Settings…

A Connection Settings window will open, select “Manual proxy configuration” and enter your IP host address inside the HTTP Proxy box, and its port inside the Port box. (Copy-paste from the list on Floppydata)
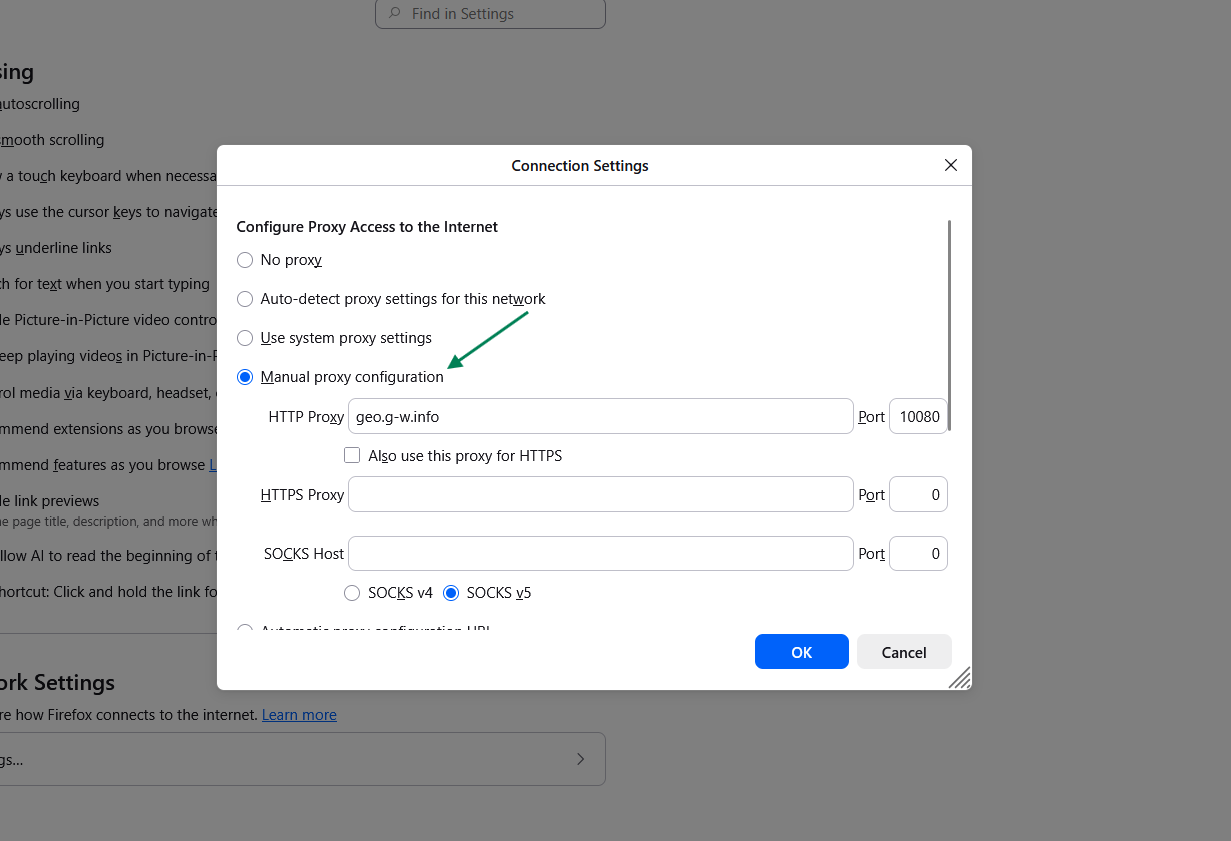
When you’re done, click OK and restart your browser.
When Firefox opens again, you’ll be asked to enter a username and a password, which you’ll find in your proxy list on Floppydata as well.
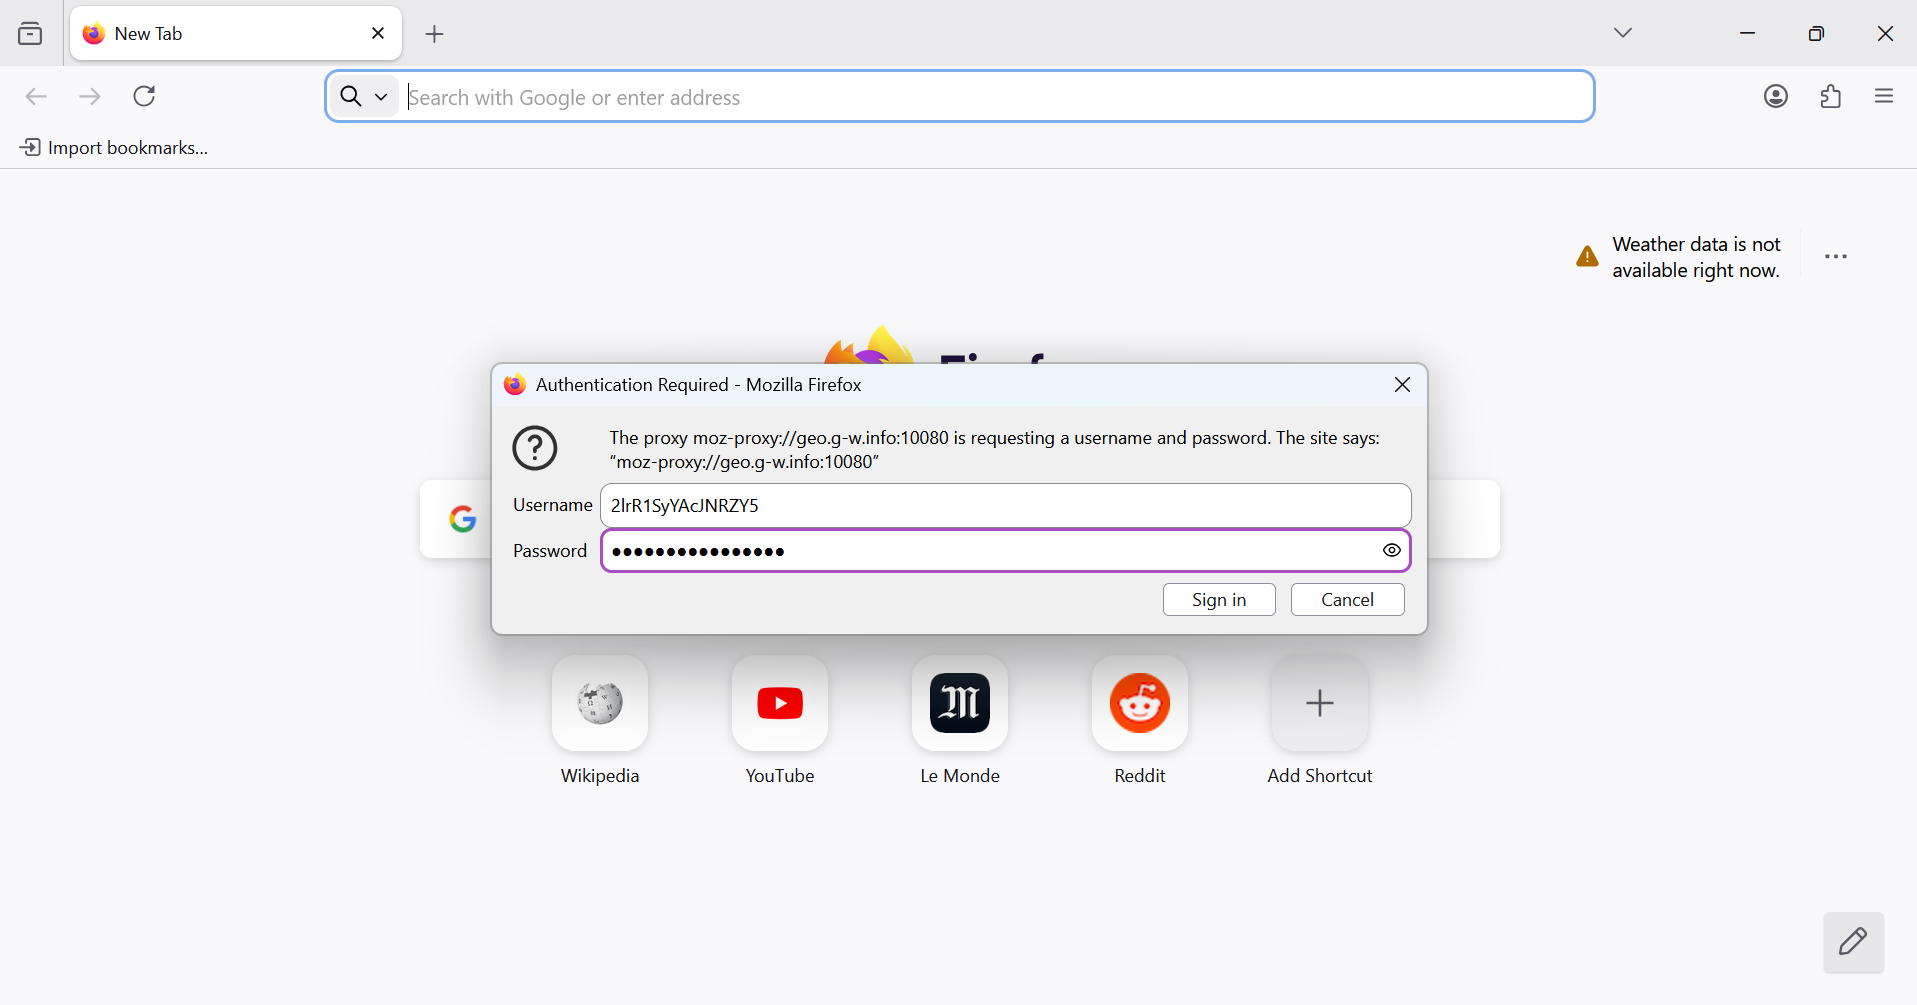
Once you click sign in, your Firefox browser will use your selected Indian IP address successfully!
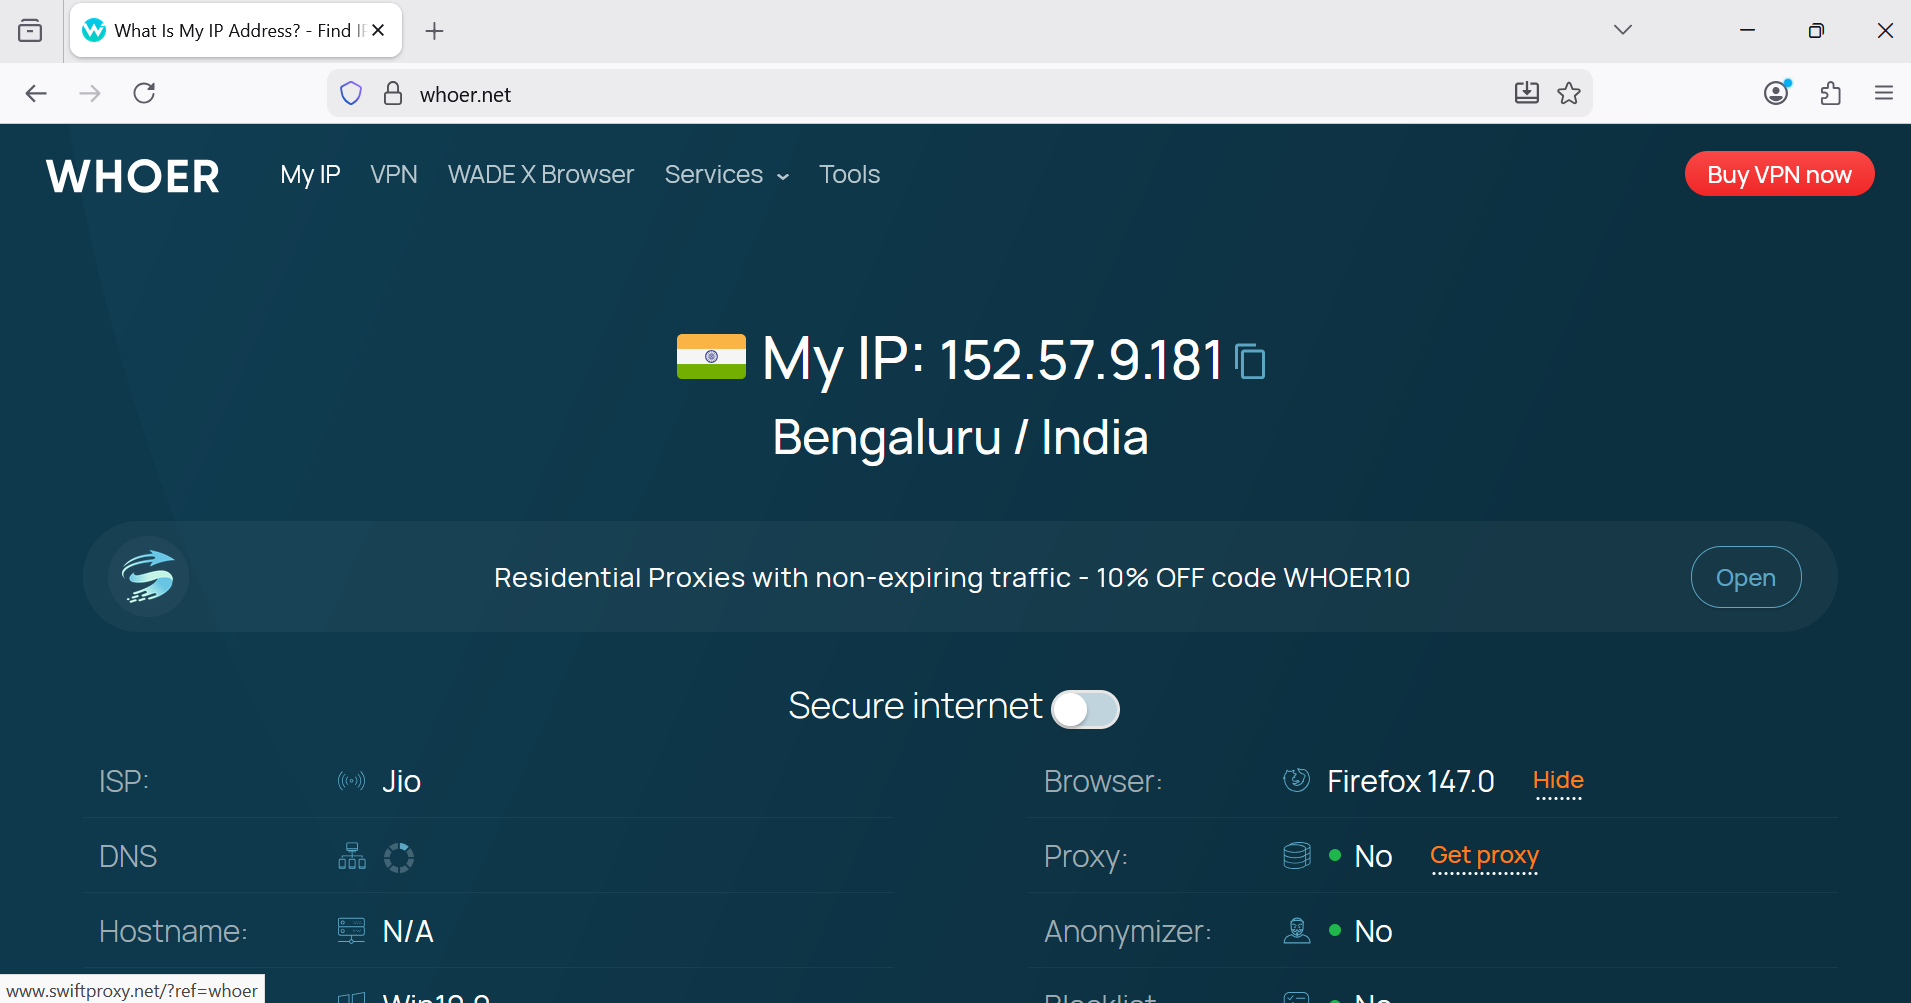
Proof from Whoer:
Option 2: For best anonymity, use your Indian IP on Gologin
If you’re managing multiple social media accounts or if you’re looking for a solution that gives you maximum anonymity online, then use your Floppydata IPs on the Gologin anti-detect browser.
A basic browser like Chrome can leak your browser fingerprint to the websites you’re visiting. Gologin, on the other hand, automatically hides your fingerprint and keeps you totally anonymous.
Setting it up is even simpler than with basic browsers. Just follow these steps:
First, go back to your Floppydata proxy list and click “Copy proxy list”.
Then, go to Gologin, install it on your device, and create your account.
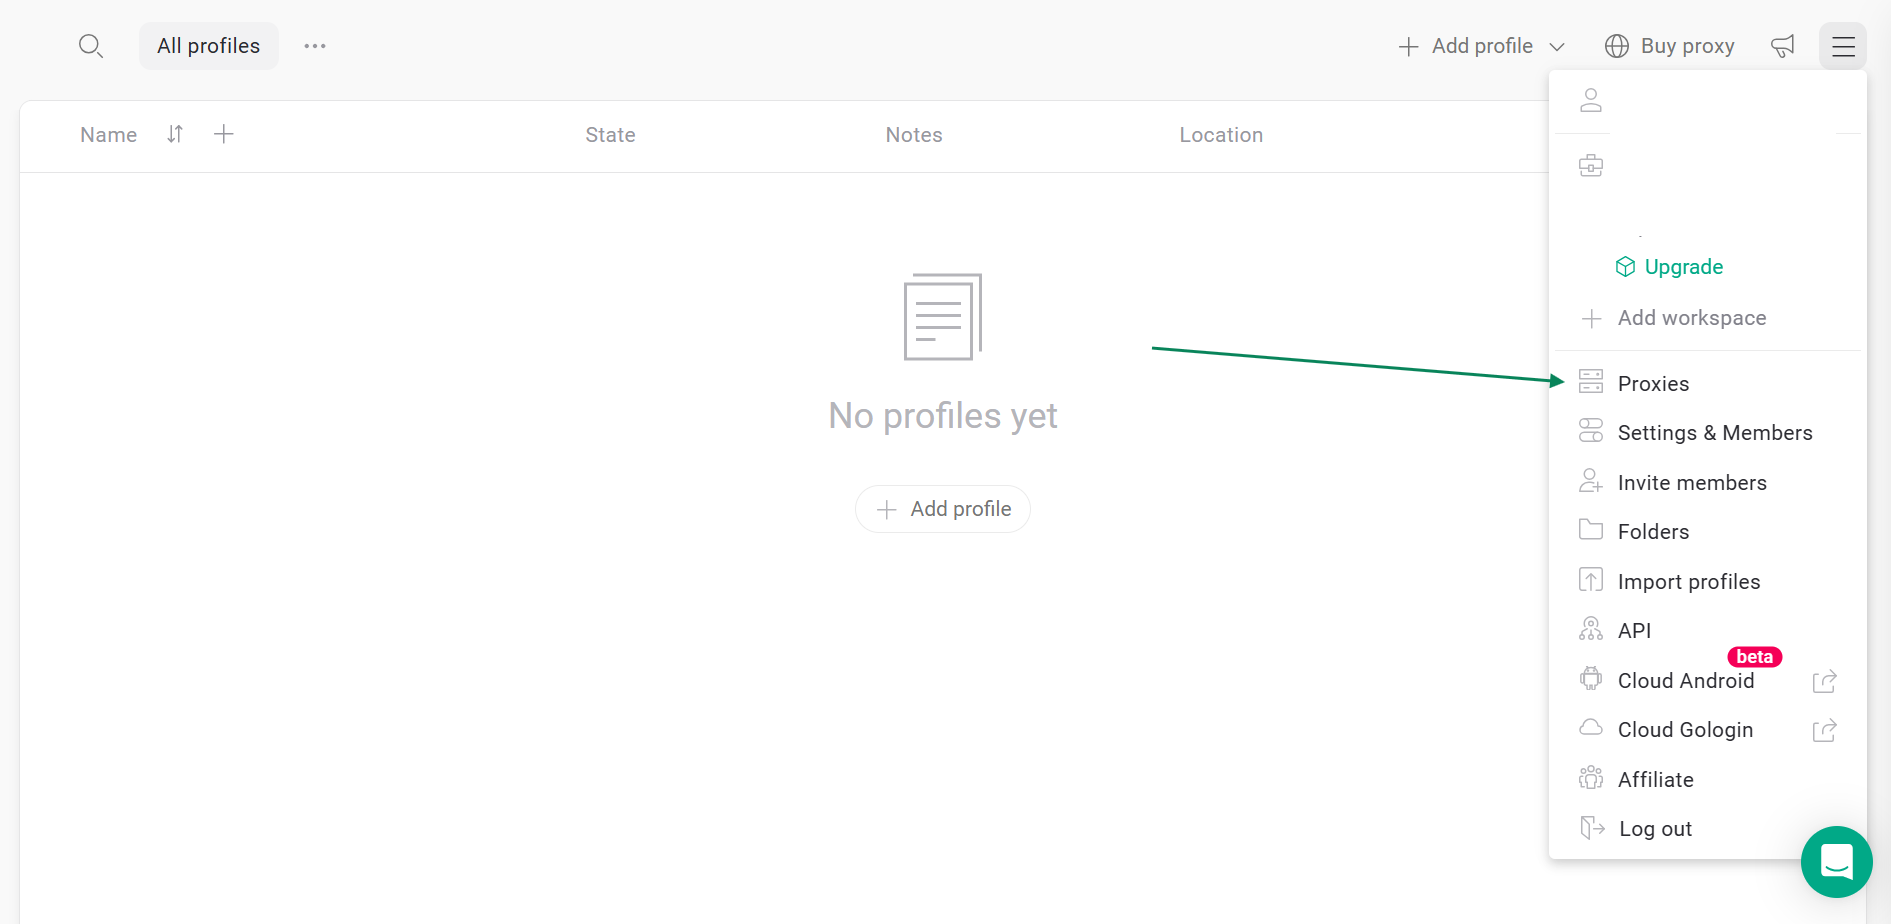
Once inside the Gologin dashboard, click on the hamburger (☰) menu on the top right and select “Proxies”.
Click Import proxies on the top left corner and paste your proxy list there:
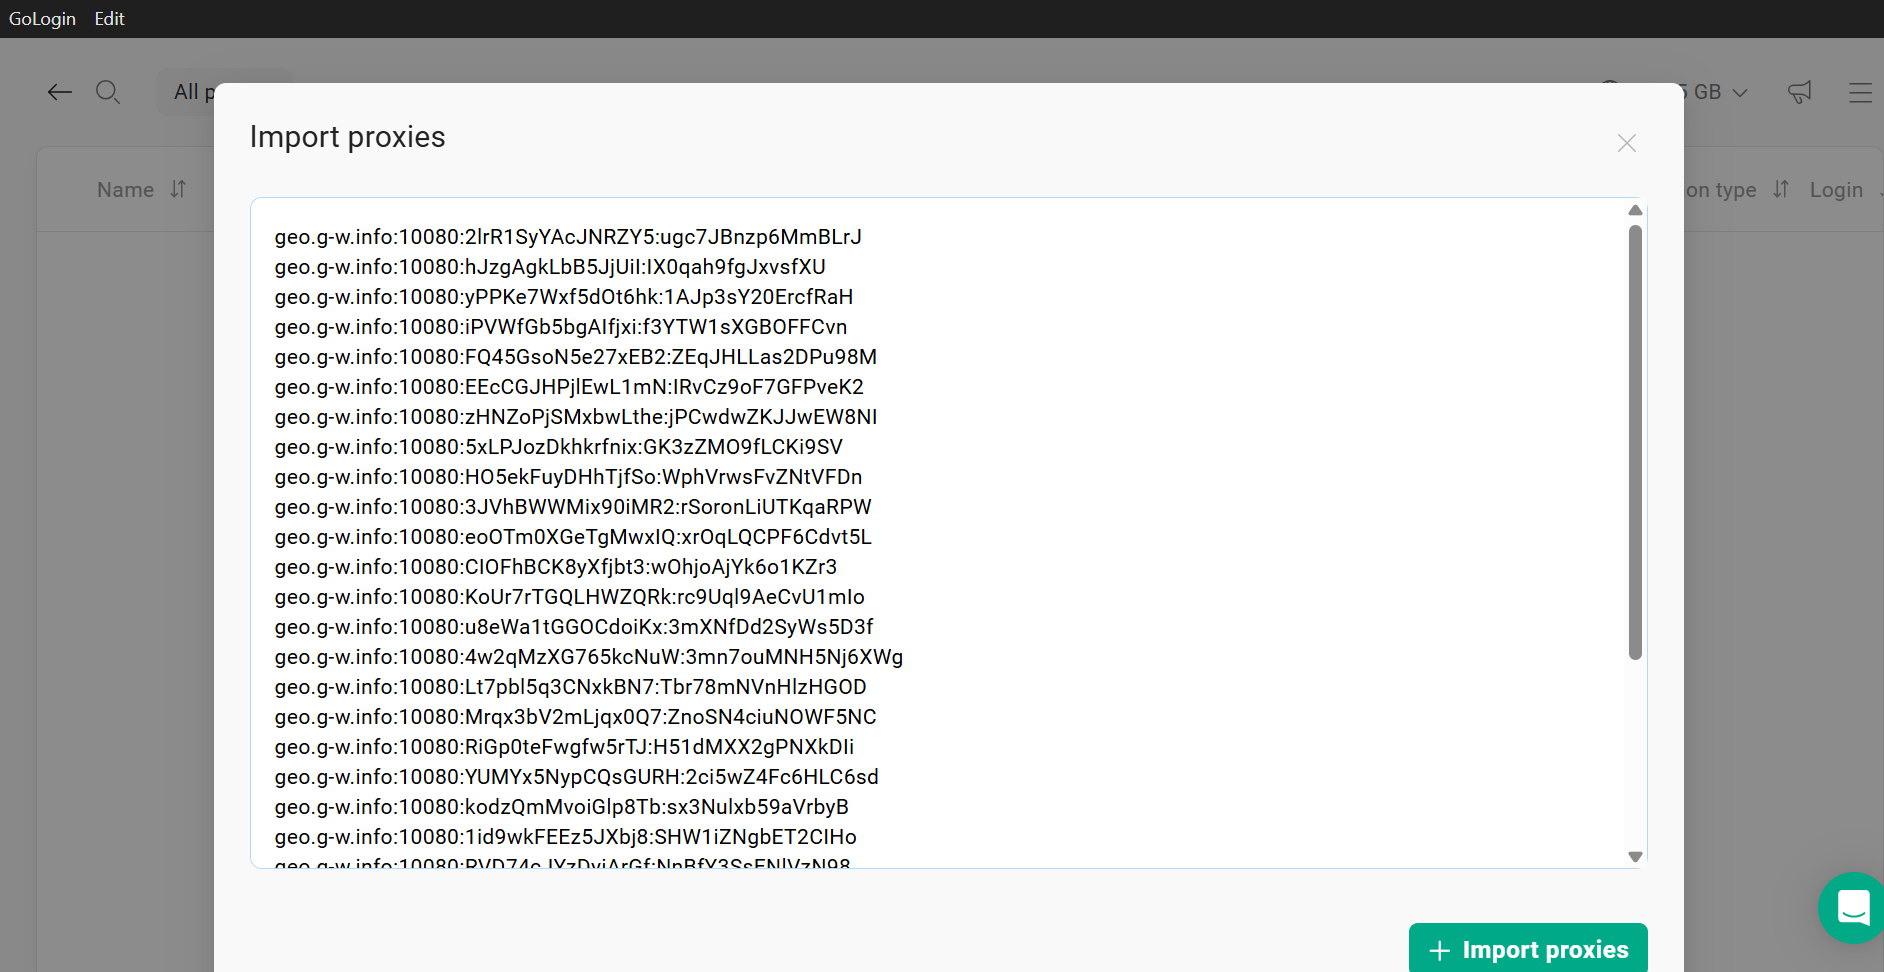
Once you click on the green “+ Import proxies” button, Gologin will automatically validate your proxies.
This is what your list of Indian proxies will look like on Gologin:
Next thing you’ll do is create the browser profile. That’s where you’ll be using your Indian IP to browse the internet anonymously.
First, go back to the Gologin dashboard and click Add profile.

Under the Proxy tab, give your profile a name, select “Your proxy” instead of “Gologin proxy”, so you can choose a proxy from your saved Floppydata list.
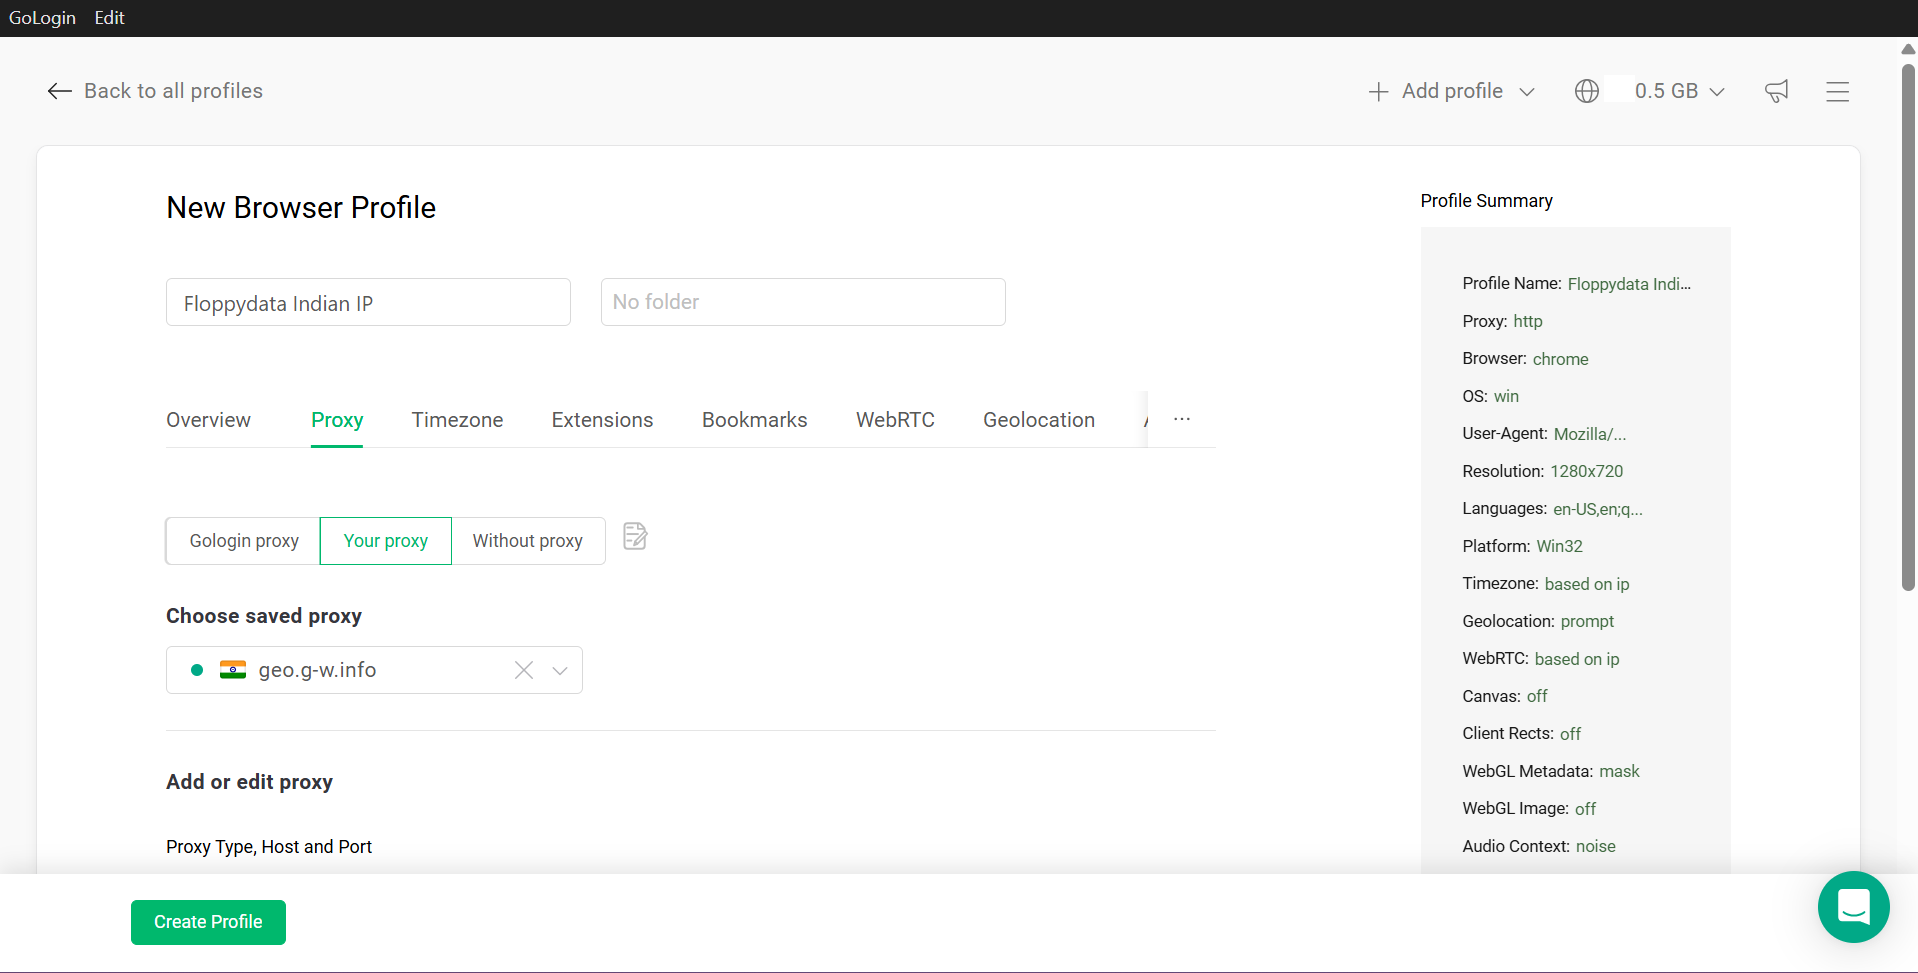
Click the “Create profile” button, and your profile is now created.
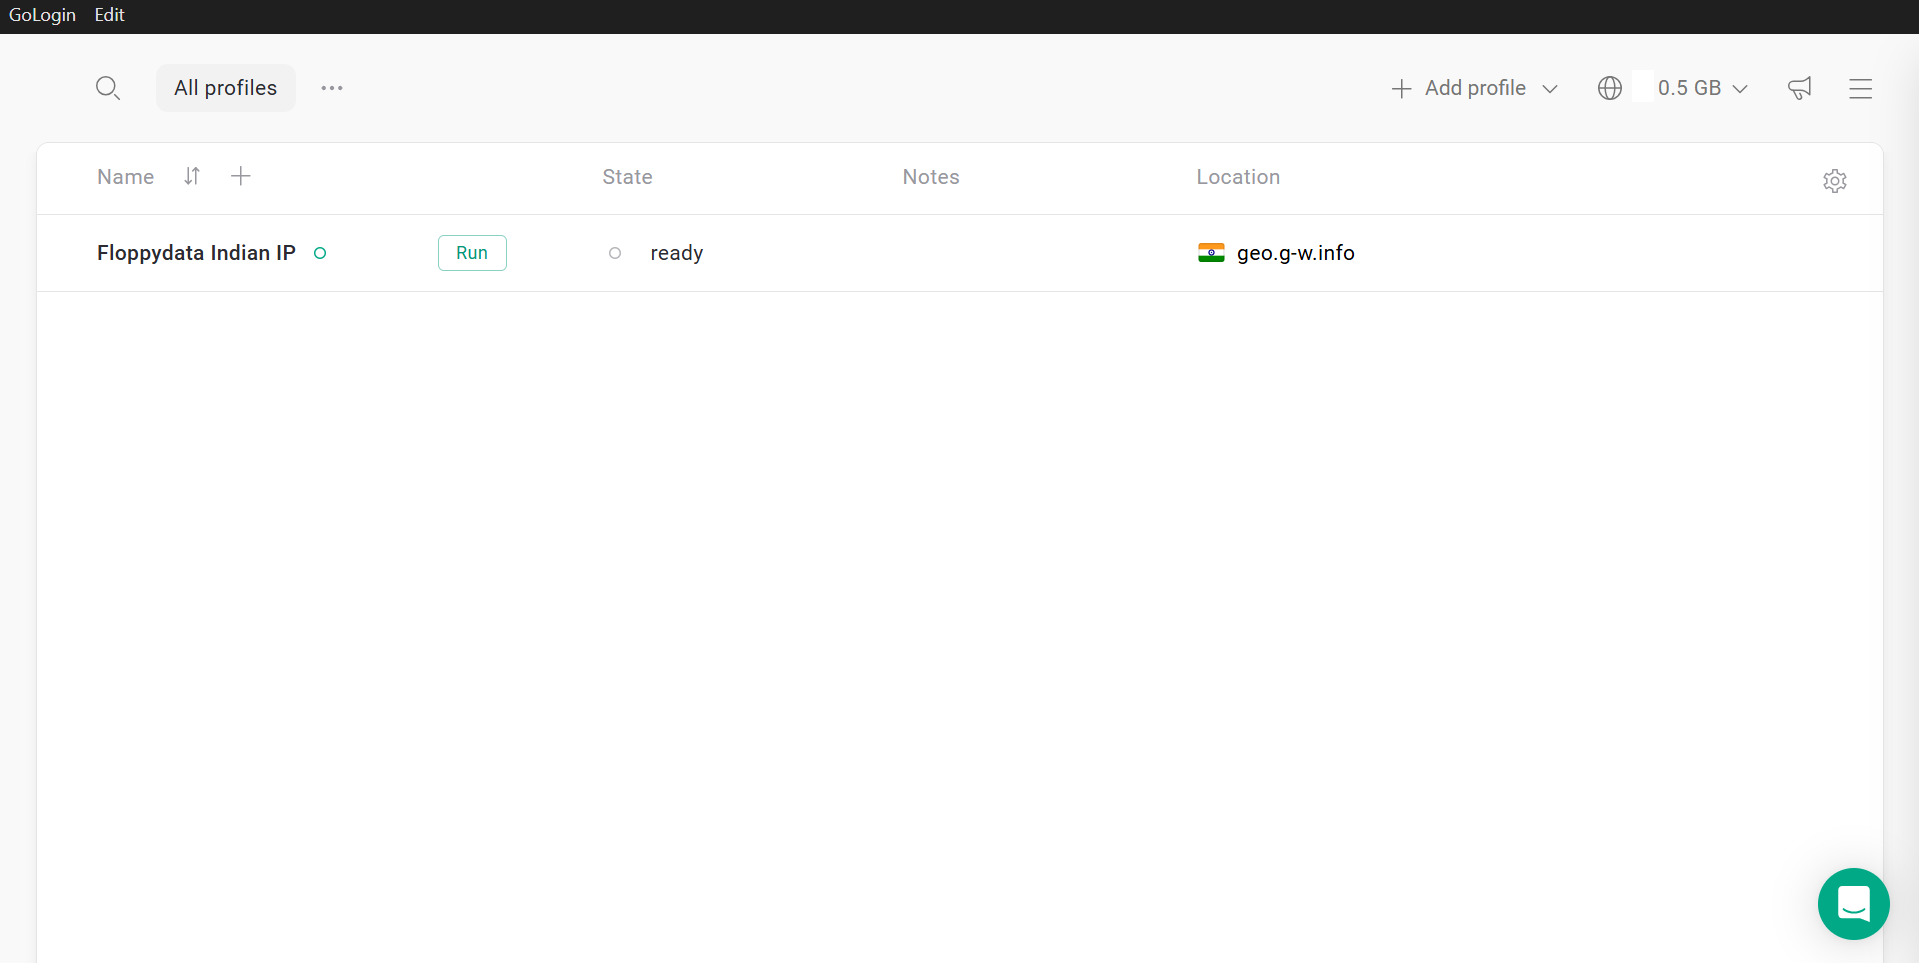
Click the green Run button, and a browser window will open. That’s where you can connect to the internet using your Indian Floppydata IP address while staying totally anonymous!
Final Thoughts
Indian organizations have sophisticated systems for detecting VPN or any suspicious connections, which is why it is important for you to find Indian IPs that are clean, coming from trusted sources. Floppydata is a proxy provider that offers some of the highest-quality IPs on the market.
In this guide, I taught you how to get your Indian IP from this platform, then I showed you step-by-step how to add that IP to your browser (Chrome/Firefox) or to Gologin if you want more anonymity and privacy. Thanks for following along!
FAQ
Why would I want an Indian IP address?
An Indian IP lets you access India-restricted content, view localized results, test geo-specific services, or maintain privacy by making it appear you’re browsing from India.
How can I get an Indian IP without a VPN?
Use a proxy service that offers Indian-based IPs. Residential or mobile proxies route your traffic through a server in India, giving you an Indian IP without VPN software.
What’s the benefit of using proxies over VPNs for an Indian IP?
Proxies can be faster for specific tasks (like localized scraping or app access), let you assign unique IPs per session, and integrate with automation tools.