In my marketing agency, we handle multiple Facebook client accounts at once and need to make sure they stay safe and secure. We don’t want the client’s account to get banned due to our poor multi-account management checks. This blog explores how you can not only create multiple Facebook accounts but also use them simultaneously on one device without the risk of getting banned.
Facebook has a strong spam detection system, which discourages the use of multiple accounts simultaneously. Most people try to run the same Facebook ad via different accounts to see which ones perform better, or to send spam messages through automations. Facebook banned 1.1 billion fake, duplicate, or spam accounts in Q4 of 2024 alone. So, understanding how Facebook’s detection algorithm works and what to look out for is crucial in deciding which Facebook account-sharing method you will use. Let’s dive in.
Why Do You Need Multiple Facebook Accounts?
Here are some common and valid reasons why multi-account sharing is crucial for some businesses to streamline their operations.
Freelancers & Agencies Juggling Multiple Client Accounts
Freelancers and agencies handle multiple clients, all of which are managed through a handful of devices. You need to post on ten different Facebook accounts every day from the same device, but you either keep switching accounts or manage multiple browser profiles. Since Facebook tracks IP and knows that the traffic for all accounts is coming from one device, you put your client accounts at risk of being banned without proper precautions.
Businesses Having Multiple Region-Based Accounts
Some businesses prefer creating separate niche accounts for their sub-brands or product categories. Others prefer creating region or country-specific accounts to share relatable content in their native language. In this case, if one global team or agency is managing those accounts, they need to maintain separation between them to make sure they don’t get banned or restricted in any way.
Market Research & Testing
Some marketers first test their graphics and ad content on test accounts to see which ones perform better. Only then its published to the main account. Facebook discourages this, but it is a common marketing practice that people use. Since you can’t publish ads on an account without verifying it, you can’t create more than a handful of accounts before you run out of phone numbers for verification.
Facebook’s Account Sharing and Multi-Account Policy
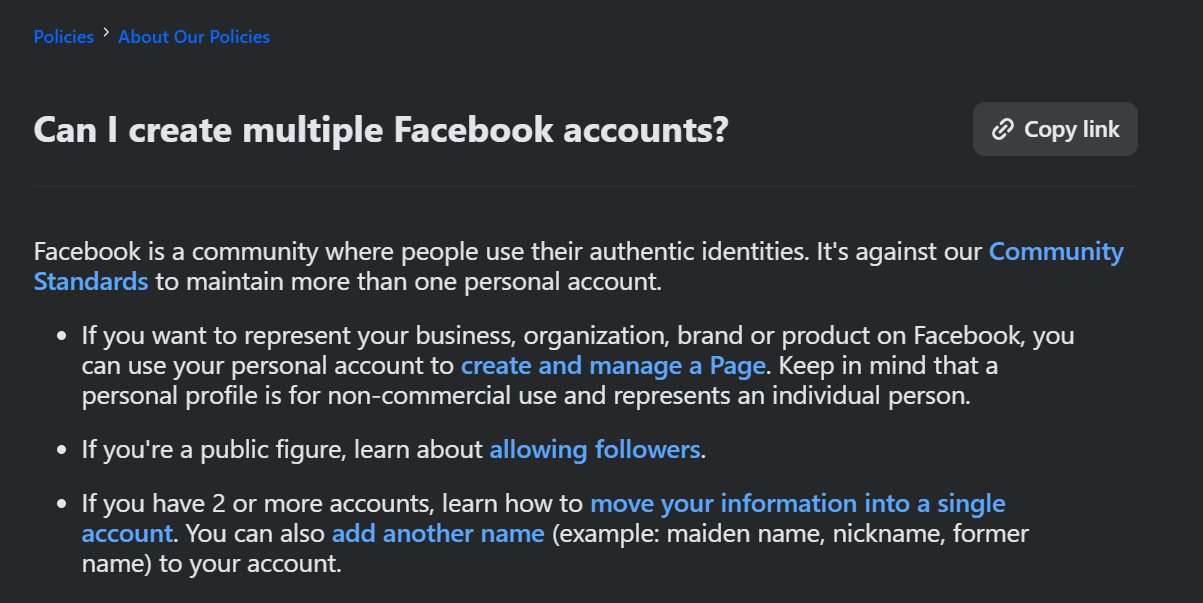
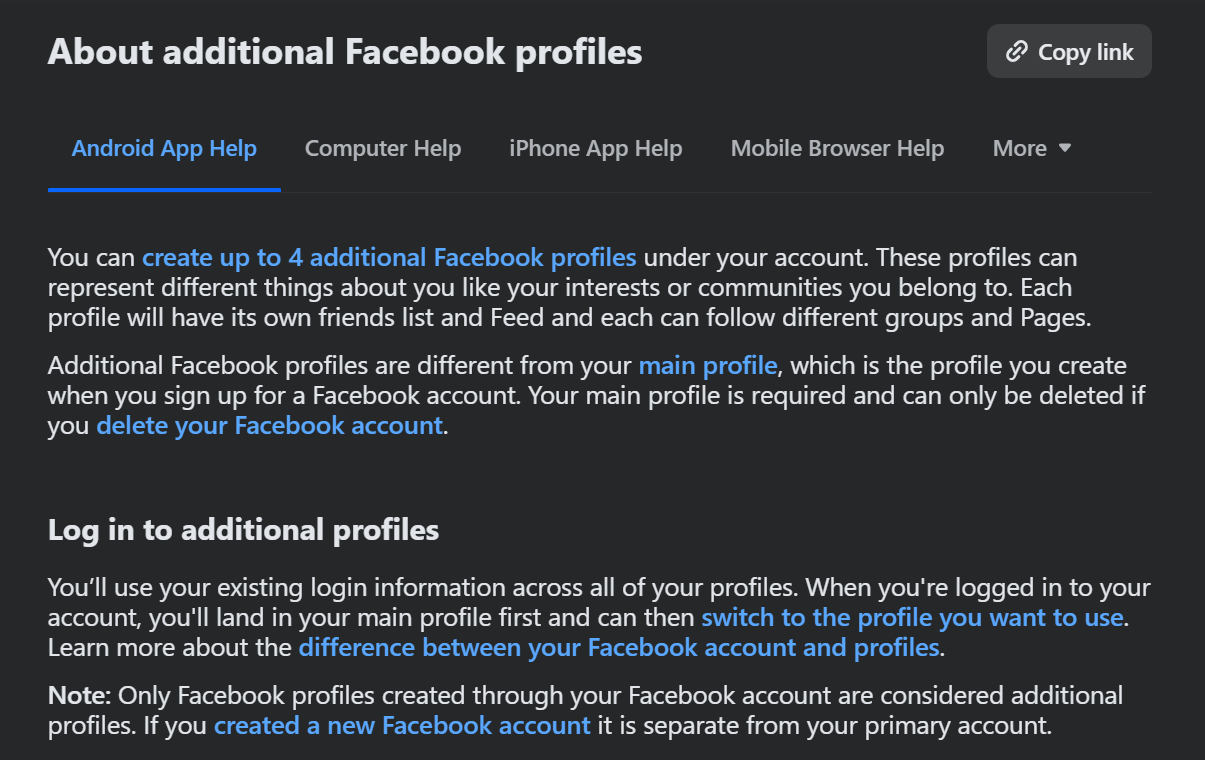
Facebook’s terms of service only allow a person to have one account linked with their real identity. In 2023, Facebook introduced multiple profiles under one account. This means that you can create additional profiles (for business) under your original account. Currently, this is limited to four additional profiles, which provide business owners sufficient space to create and manage their business accounts from a single login.
But there’s a catch: All those profiles are still tied to your one Facebook account. They share the same password, and Facebook knows they all belong to you. Importantly, if you violate rules on one profile (or if Facebook suspects abuse), your entire account and all profiles could be at risk.
For business purposes, the new profile feature is limited. You cannot run separate business managers or ad accounts from each profile. Facebook still expects one real identity behind it all. That means if you need truly separate business accounts (for example, two unrelated companies, or if you’re an affiliate marketer creating multiple personas), the official multi-profile feature won’t fully cover you.
Ways to Operate & Share Multiple Facebook Accounts

If you create a second Facebook account or want to log in a client’s account, there are two primary approaches. One approach is to share the account credentials (email & password) so that the other person can log in. The second approach is to use account-sharing apps that let you provide access to your account without needing to share passwords. I tested multiple methods, and here is my review of each and why I recommend or reject them.
Facebook’s Official Account Sharing Method
Facebook has a business tool called Meta Business Manager. This tool lets you connect your Instagram and Facebook business accounts and share their access with other people. So, if you’re outsourcing your marketing to an agency or need to provide your marketing team access to Facebook, Meta Business Suite is a great way to do so. This way, you can manage access level and allow them to view analytics, post, and reply to DMs and comments.
However, with this method, your team cannot use the account on their app or on the Facebook web. If they want to engage with UGC or other content on the feed, they can’t do that with the business suite and still need complete access to the account. But, if you just want to outsource posting, DMs and replying to comments, Meta Business Suite is a great way to do that for multiple Facebook profiles that you have in your account.
Using Multiple Physical Devices
If you want absolute security and assurance that your client accounts will stay safe, you can buy and set up client accounts on real physical devices. Although this sounds like an impractical solution, each device has its own unique fingerprint and IP address, so Facebook cannot figure out if these devices are linked together. The only thing to watch out for is the same internet connection, which can be easily bypassed by using a proxy IP.
If you think this method is an overkill (which it is), you can go with the next method: cloud phones.
Using Proxies to Manage Multiple Facebook Accounts
Proxies help you bypass Facebook’s detection system. The easiest way for Facebook to identify linked or duplicate accounts is through device IP. When you log in to multiple accounts on the same device (even if you do it on different profiles), Facebook stores the device IP and groups your accounts by IP. Proxies help you avoid it by masking your IP. You can assign each profile a unique IP address, and all profiles will act like the traffic is coming from a different location. This helps solve the IP problem.
Proxies should be used with the cloud phones alternative as well to make each phone appear as its in a different location. This prevents Facebook from grouping your accounts based on the same IP. Otherwise, if one account gets banned, others also are at risk of being banned together.
Why Use Proxies for Facebook Multi-Account Management?
Proxies are essential for managing multiple Facebook accounts. They help you hide your IP and browse securely without worrying about forced logouts, restrictions, or bans. I use residential proxies for all my social media client profiles. I have dedicated a specific proxy IP for each client profile so that the traffic is routed via the same proxy and location every time.
If you use cloud phones, I would recommend using mobile proxies, which are even more secure than residential proxies. Floppydata has one of the most affordable proxies in the market with a free $1 trial. Below is a quick guide on how to set up Floppydata proxies in your browser.
Step-by-Step Guide: Use Multiple Facebook Accounts Using Floppydata Proxies
If you’re looking to set up proxies to manage multiple Facebook and other social media accounts on one device, below is the exact process I follow.
Step 1: Create Your Floppydata Account
Start by signing up on the Floppydata website. The signup process is simple. After verifying your email, you’ll end up on the Floppydata dashboard. This is where all proxy management happens.
Step 2: Choose and Buy a Proxy Plan
Once you’re done experimenting with the $1 free trial from Floppydata, you can then buy the most affordable and secure proxies directly from your dashboard.
Go to the Buy proxy section. Here, you’ll see different proxy types:
- Datacenter proxies
- Residential proxies
- Mobile proxies
For Facebook, I usually go with residential proxies because they look like real user connections and have a lower risk of being banned. If you’re using cloud phones and want additional protection, mobile proxies are the way to go.
Once selected, complete the payment, and your balance will be added instantly. Floppydata has one of the most affordable pricing plans with a pay-as-you-go model that only charges for what you actually use.
Step 3: Create a Proxy Pool in the Dashboard
Now, create a proxy pool. Choose any country and city, select the proxy type, quantity, and name. Once you create a proxy pool, Floppydata will assign you unique proxies. This pool is reusable and can be edited anytime. It is advised to create different proxy pools or add more countries or cities to your pool. This will give you a wider variety of IPs to help you isolate each profile.
Step 4: Get Your Proxy Credentials
Inside your proxy pool, you’ll see:
- Proxy host
- Port
- Username
- Password
Floppydata also allows:
- Bulk proxy generation
- Bulk download of proxy lists
- Copying proxies in browser-ready formats
If you’re managing many accounts, bulk download saves a lot of time. You can add these proxies to your browser, like Chrome, Firefox, Gologin, etc. Just go to settings, proxy, and import your bulk proxies downloaded from Floppydata, or add one manually.
Top Tip: Use Your Floppydata Proxies With an Antidetect Browser
Are proxies enough to stay completely anonymous? They are a piece of the puzzle which gets completed when you throw in an antidetect browser. See, proxies only change your IP address while antidetect browsers also make your browser profile look like a completely different device. Moreover, sharing access to browser profiles with your team gets easier with antidetect browsers. Here’s a quick and simple guide:
Step #1: Download Gologin Desktop App
After buying proxies from Floppydata, download the Gologin app and sign-up. Gologin looks like a normal Chrome browser, but more secure.
Step #2: Create Browser Profile
When you’re signed-up, create your first browser profile. You can select the OS version, memory, proxy location and many other settings that help make your profile unique. Each profile you create acts as a unique device with its own IP address.
Step #3: Assign Floppydata Proxy to Your Profile
During profile creation, import Floppydata proxies and select which proxy you want to assign to this profile. Similarly, assign unique proxies to each profile so that they have a unique device and IP fingerprint.
Step #4: Manage Multiple Facebook Accounts
You can now simultaneously open two Facebook accounts (one in each profile). You can create multiple profiles with unique proxies and manage as many accounts as you want without the risk of getting banned.
Step #5: Share With Your Team
You can share your browser profile with your team members. They need to create a Gologin account as well and can access your profile from their own accounts, if invited. They don’t need to set anything up as proxies, device fingerprint, and login have already been configured from your side. All the activity that team members carry in your profile gets synced for everyone in real time. Facebook will not know that five people are logging in from different locations as the browser profile is the same for everyone.
Conclusion
Facebook has strong detection systems in place to detect and ban spam or duplicate accounts. It’s recommended to use a mix of proxies and antidetect browsers like Gologin. Proxies help you mask your IP, but if you’re consistently accessing multiple accounts simultaneously, it’s better to use an antidetect browser along with Floppydata proxies. This way, you ensure maximum security.
Explore Floppydata’s proxy plans.
FAQ
Can I run multiple Facebook accounts safely?
Yes — but Facebook flags duplicate accounts. Using tools like proxies and anti-detect browsers lets each account appear from a unique IP and device fingerprint to reduce detection risk.
Why use proxies when managing multiple Facebook profiles?
Proxies give each account a unique IP, making platforms see them as separate users. This lowers the chance of bans or suspicious login alerts.